
Creating Texture
Last week I walked you through creating texture with free-motion embroidered leaves, and it worked really well! But let’s add some more…
The tapestry is a huge canvas to be working on, which means that making each foliage piece from embroidered parts wouldn’t be very time efficient and would get really pricey using the water-soluble film to create them. I was also concerned that just using these would also make the piece look a bit boring, when there are many large areas of the piece that need leaves and bushes. The best part about being a mixed-media textile artist is that there are no boundaries to what you can do and add, there are so many different techniques and mediums that relate to fiber art.
One of my special interests is crochet and is hugely popular right now, which is really great for the textile community right now! It’s giving textile artists a platform to showcase their work and many people are interested in it. I thought this would be a great opportunity to add interest in the station when the tapestry is up. People may not fully understand how certain parts of the piece are made, but many people will immediately recognise crocheted elements and be more drawn to the entire piece because of it.
Now, I’m no pattern maker but I’ve broken the process down into steps for you to follow along if you want to and make your own leaves! There’s so many different applications for them as well, you could make an entirely crocheted plant from them as room decor if like me, you can’t take care of actual plants apart from a cactus.
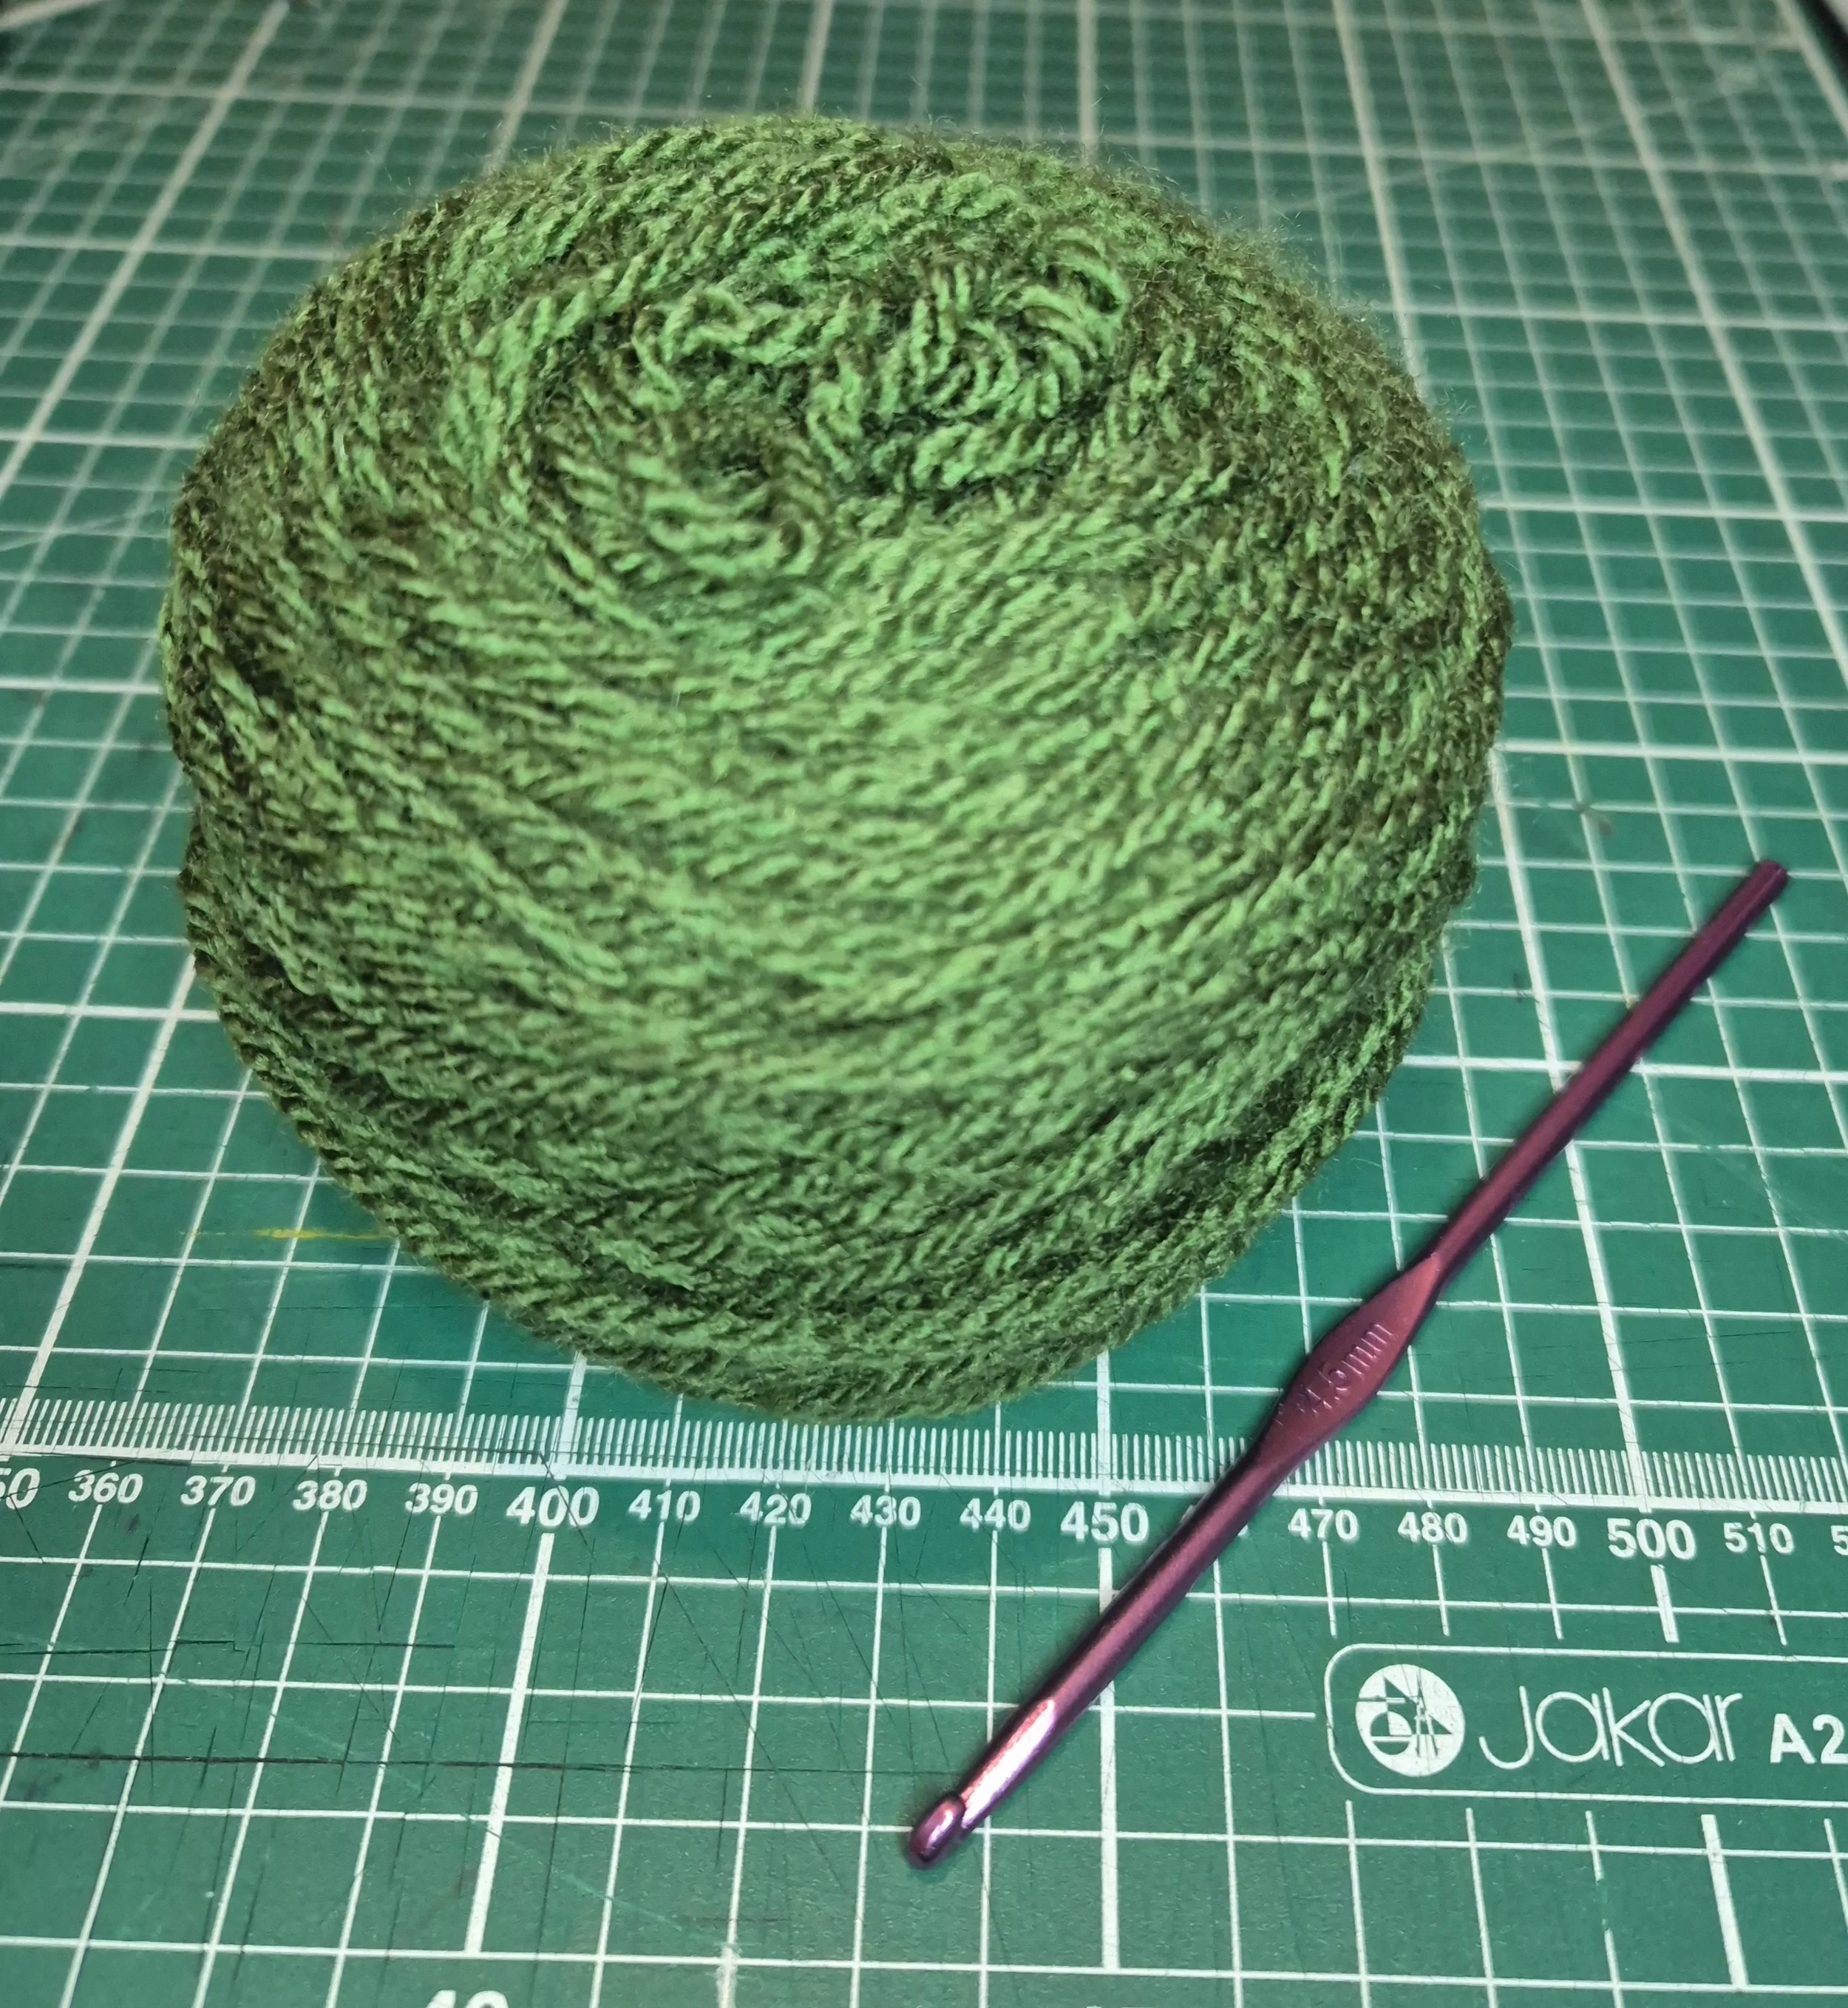
Materials: Any green yarn, any size crochet hook (have a play and see what you like best!)
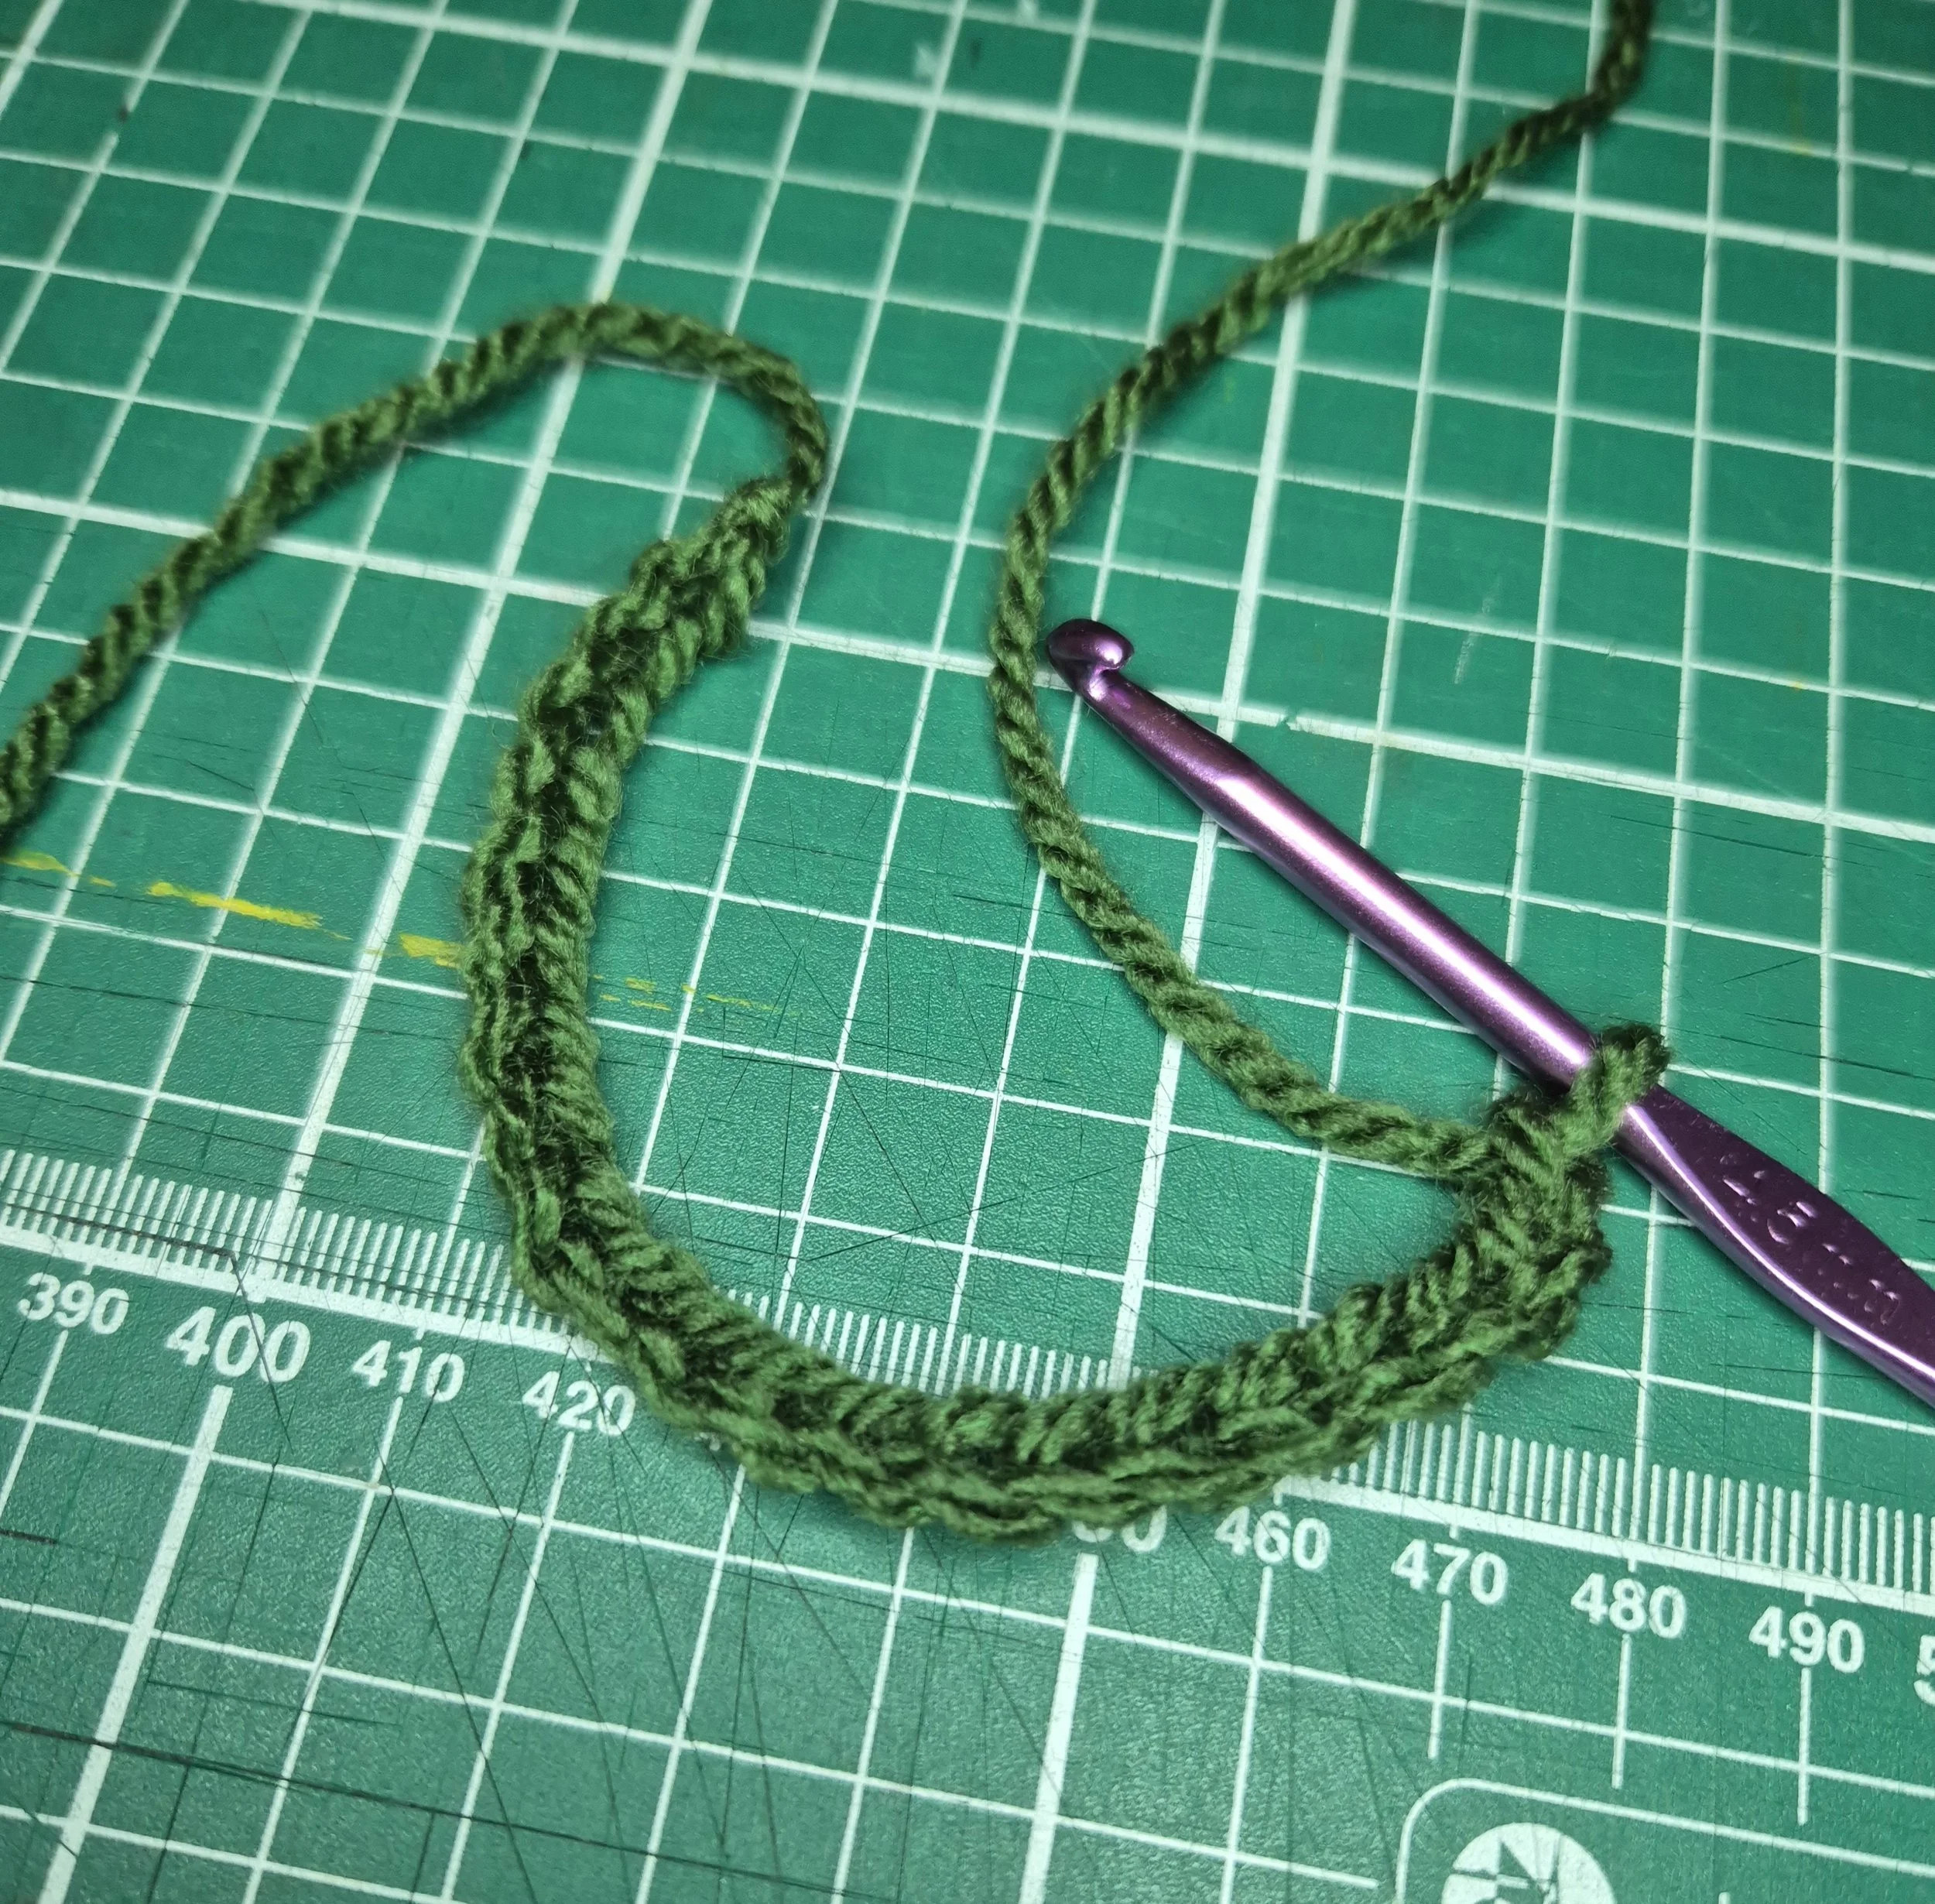
Step 1:
Chain as many as you want for how long you want the leaves to be
Step 2:
Slip stitch in the first few chains (I did 2)
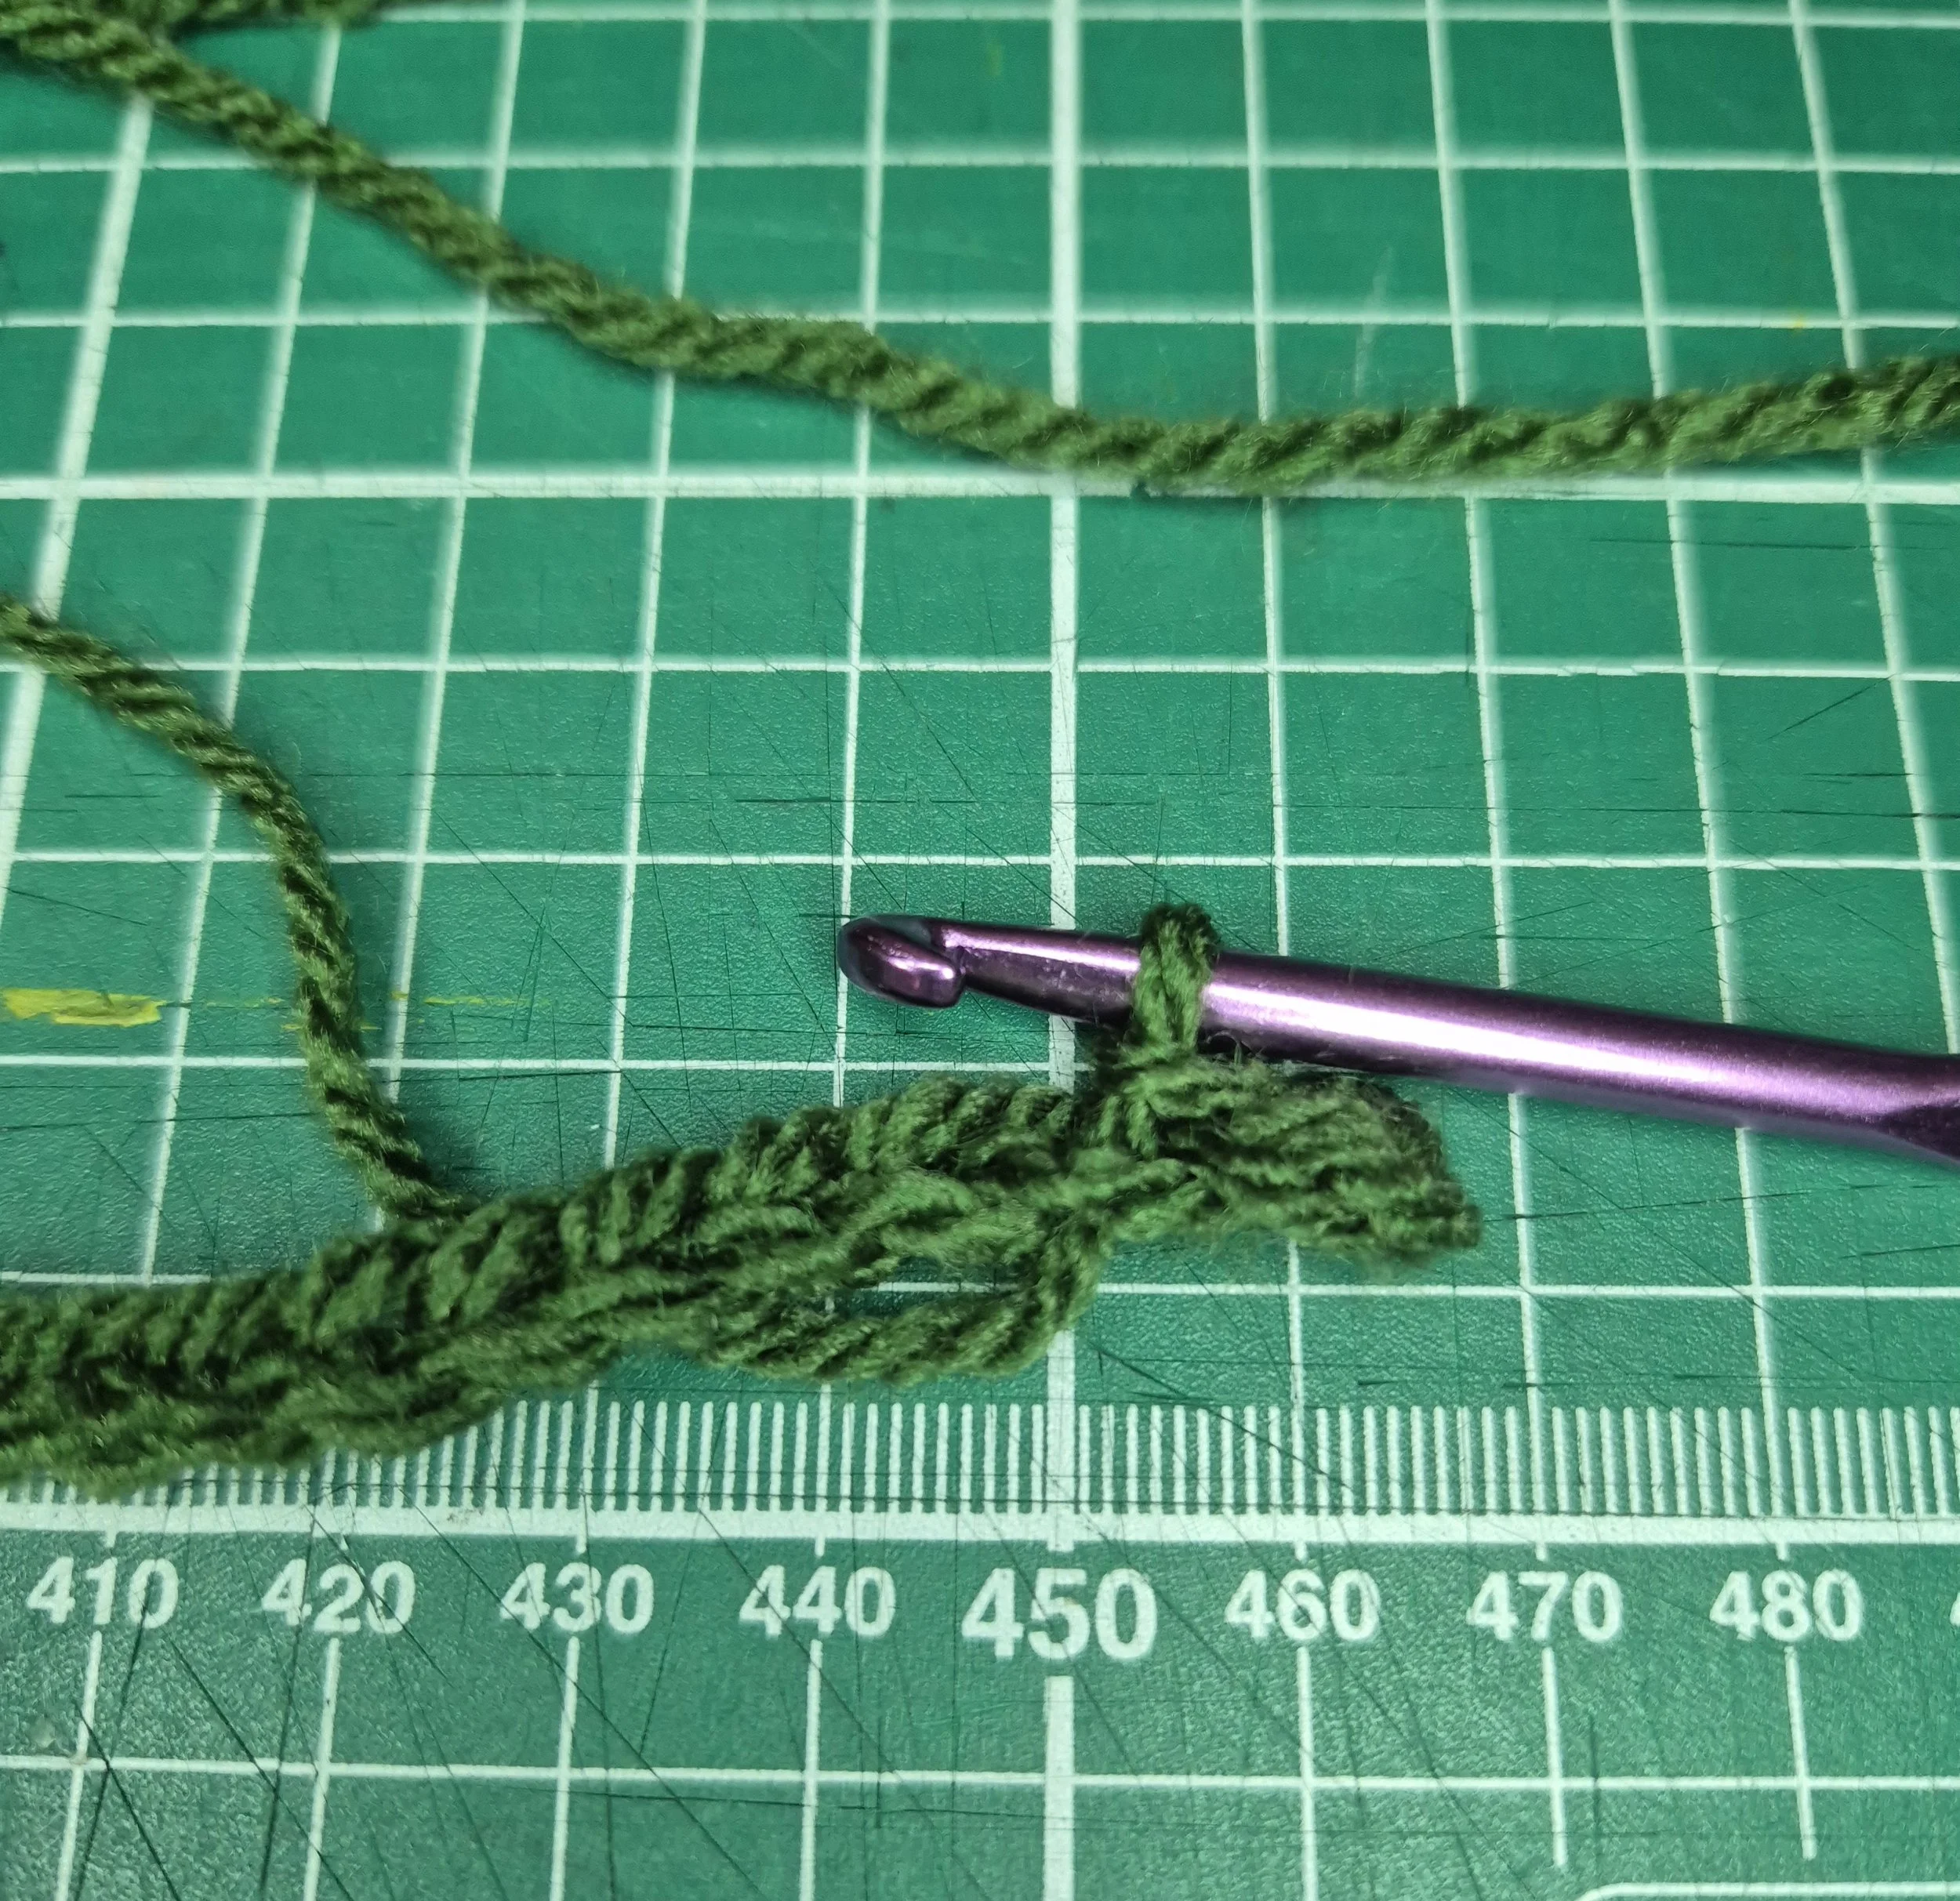
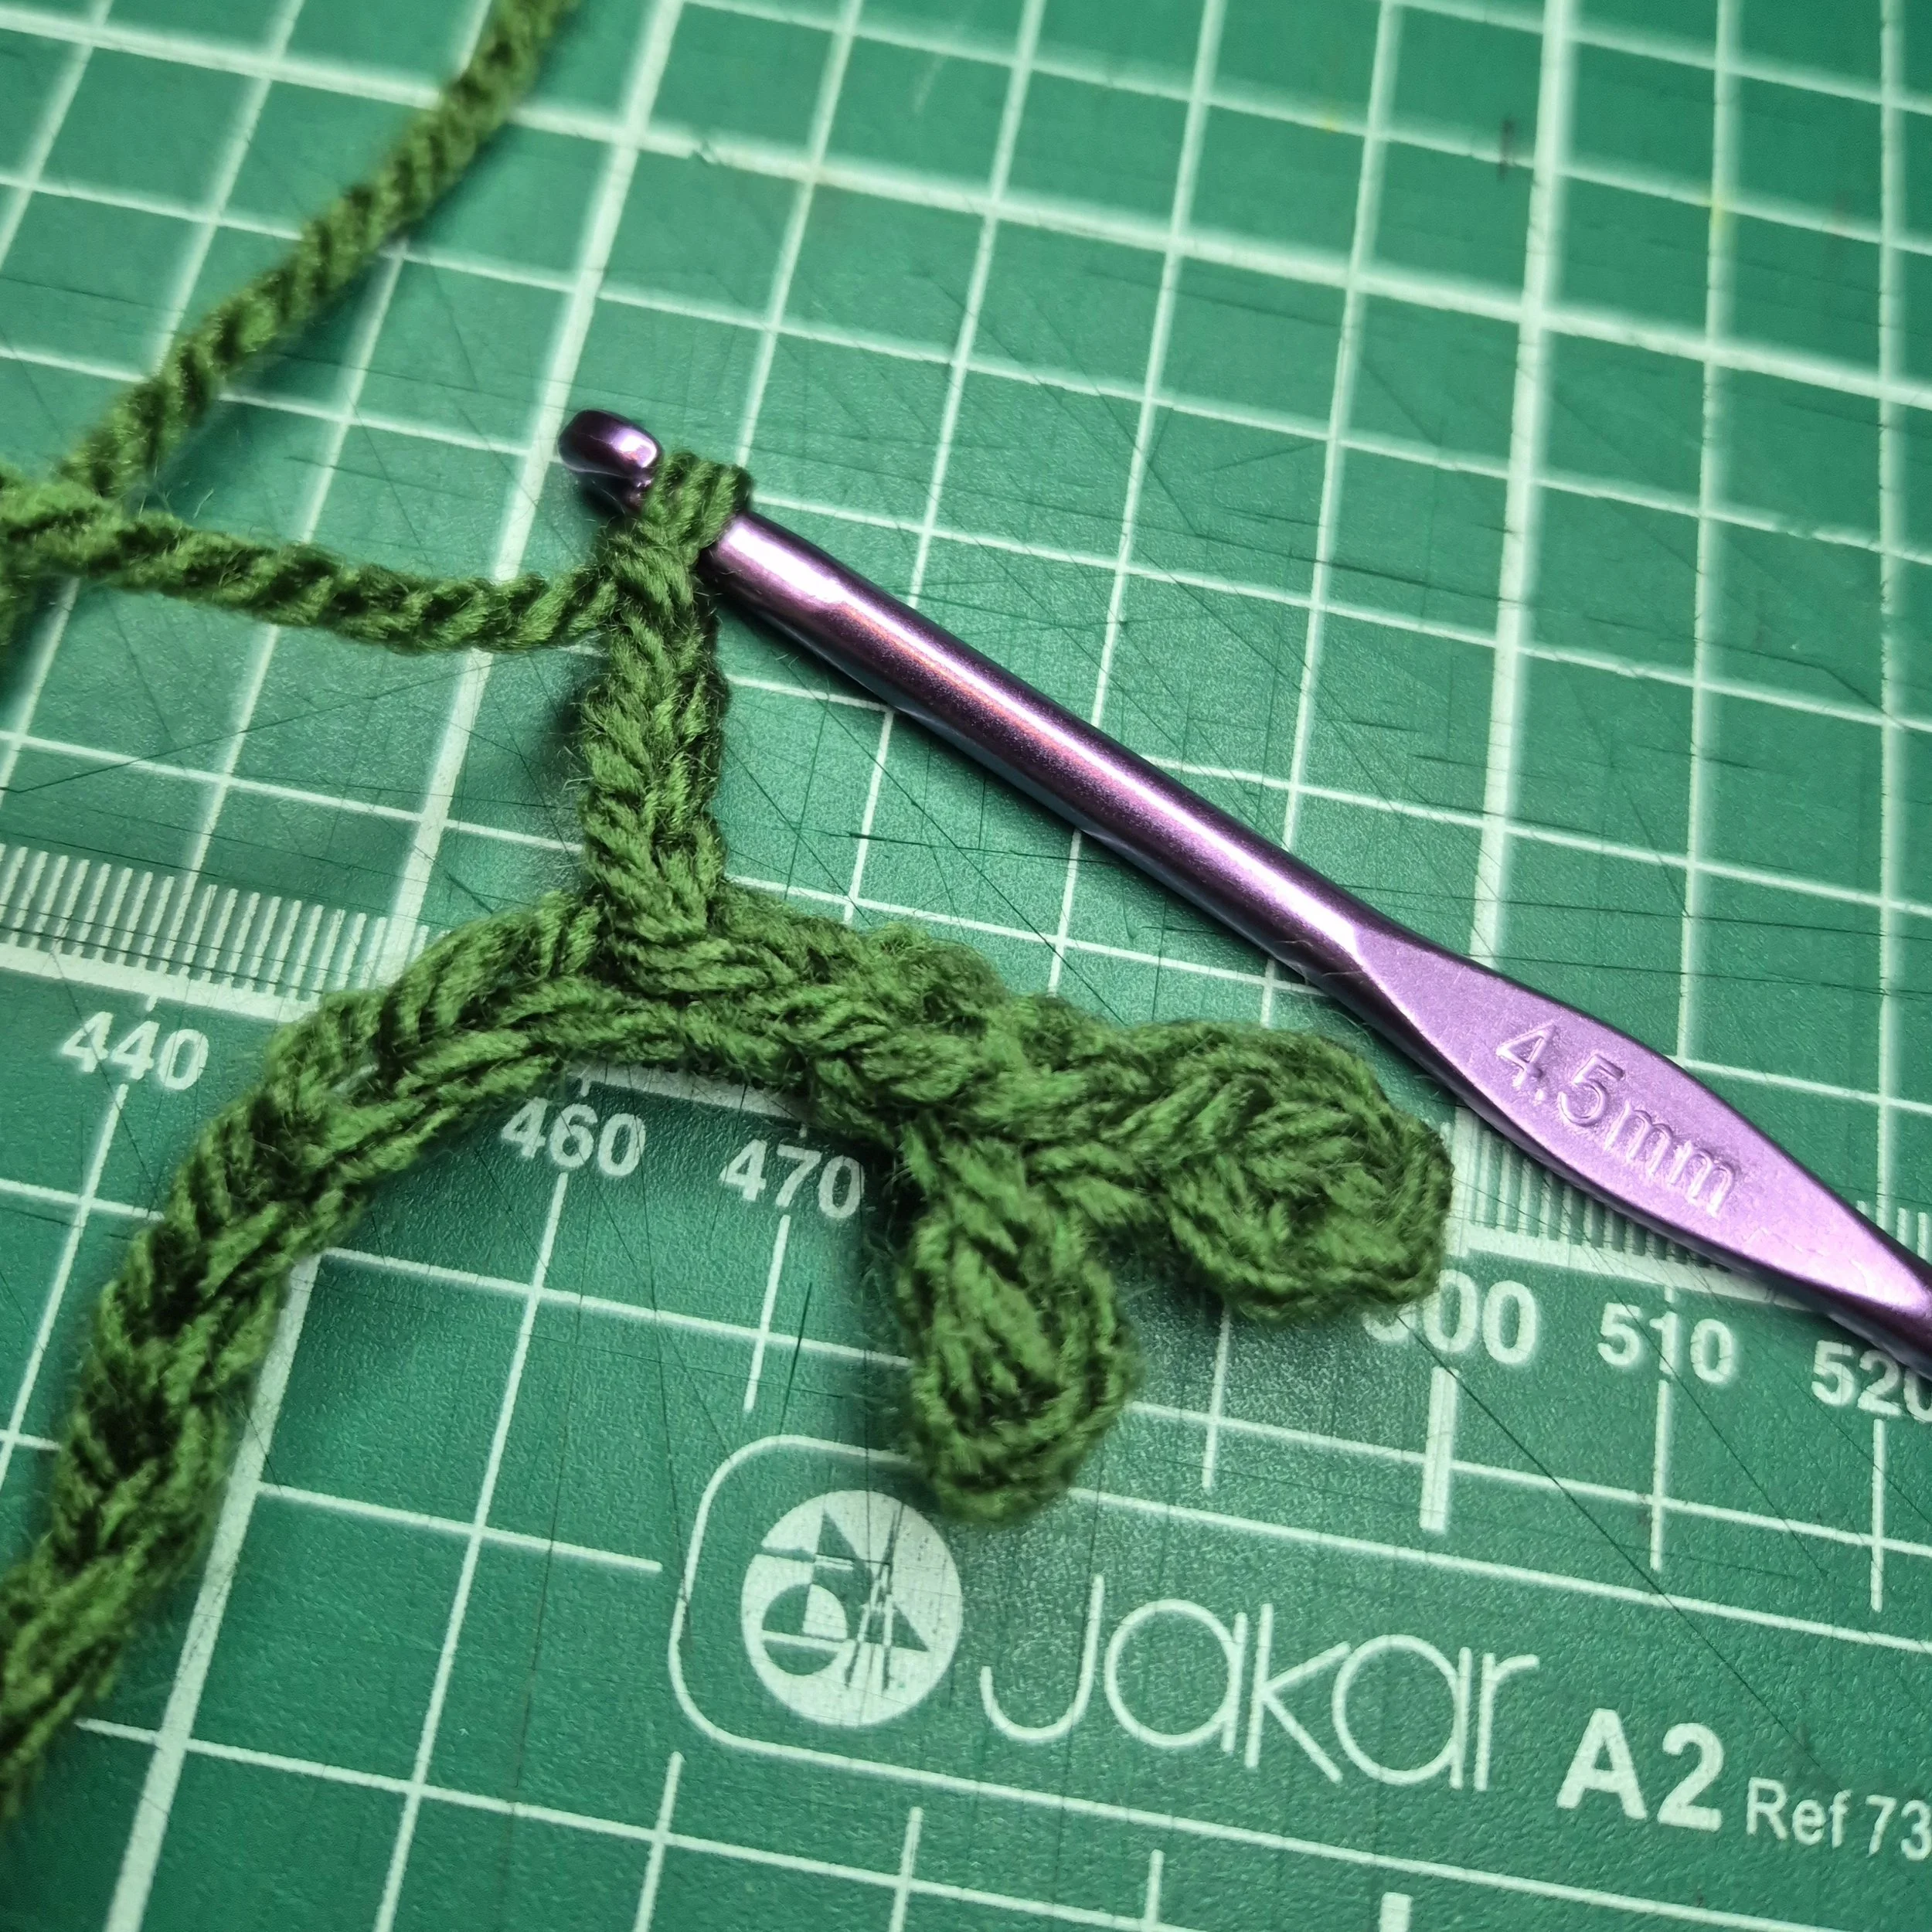
Step 3:
Chain 4 (or more if you want longer leaves)
Step 4:
Half Double Crochet (US HDC) in 3rd chain from the hook
Step 5:
Slip stitch in last chain
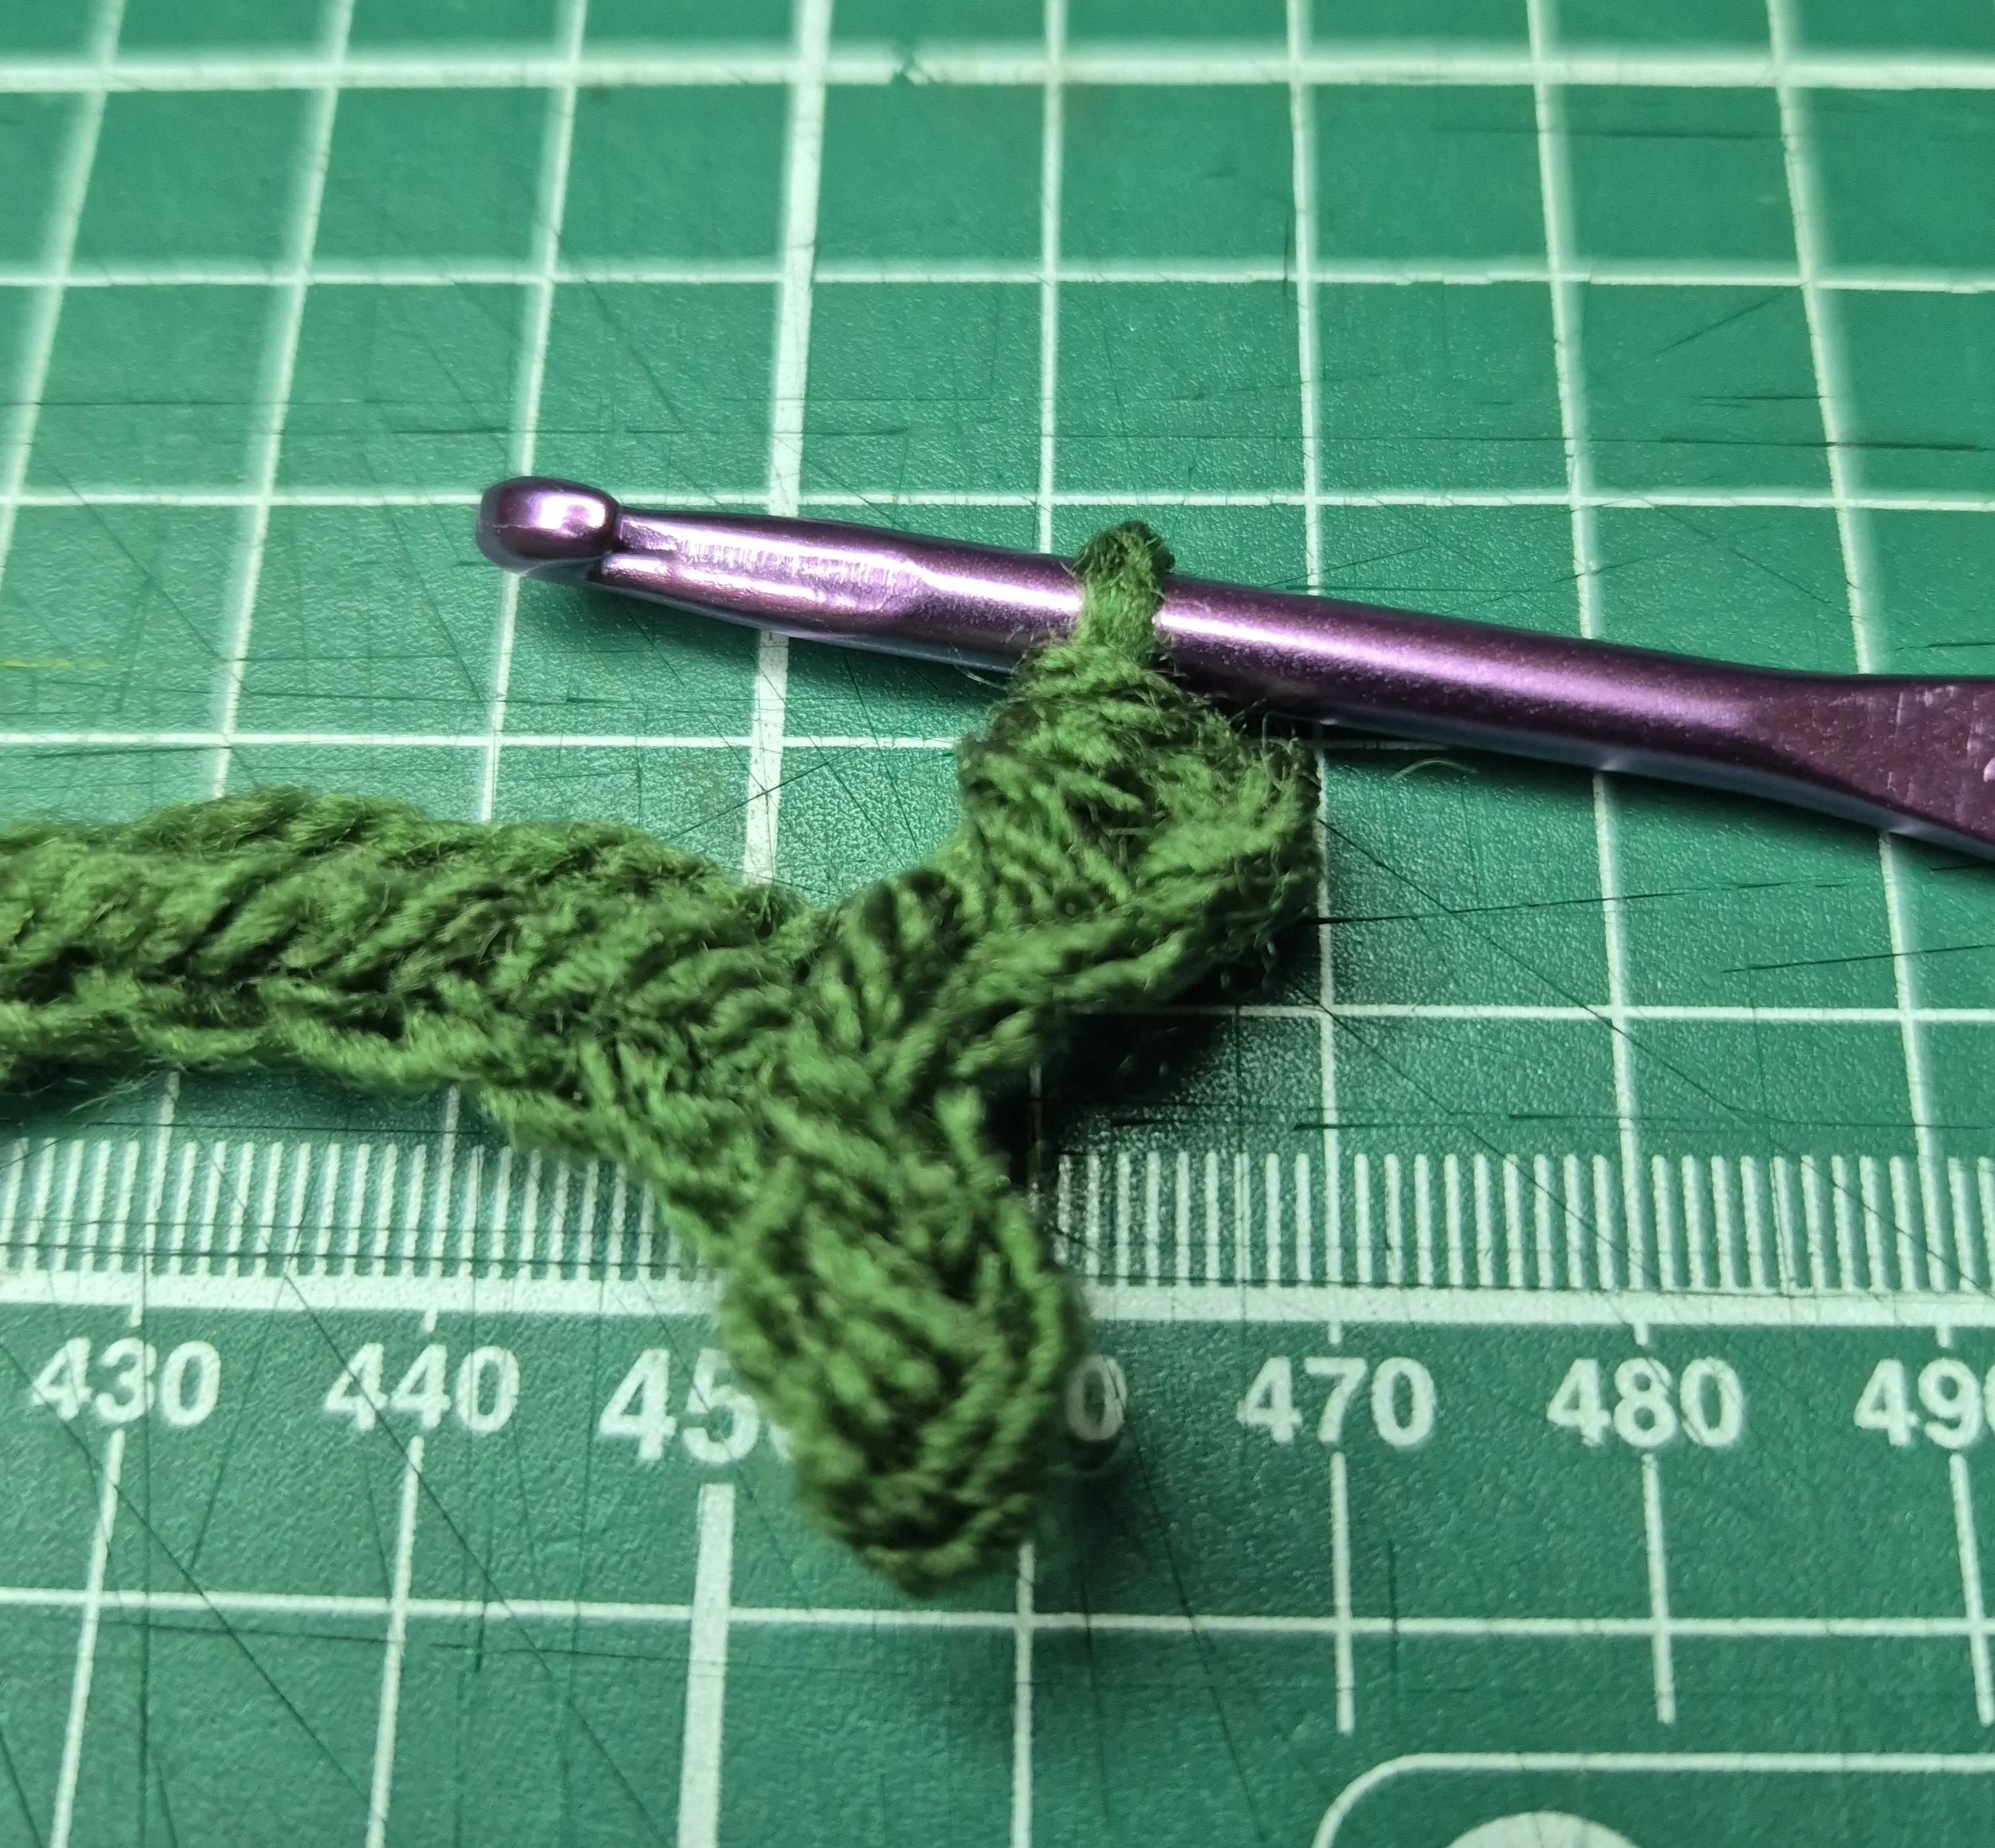
Step 6:
Slip stitch back in foundation row
That’s one leaf complete!
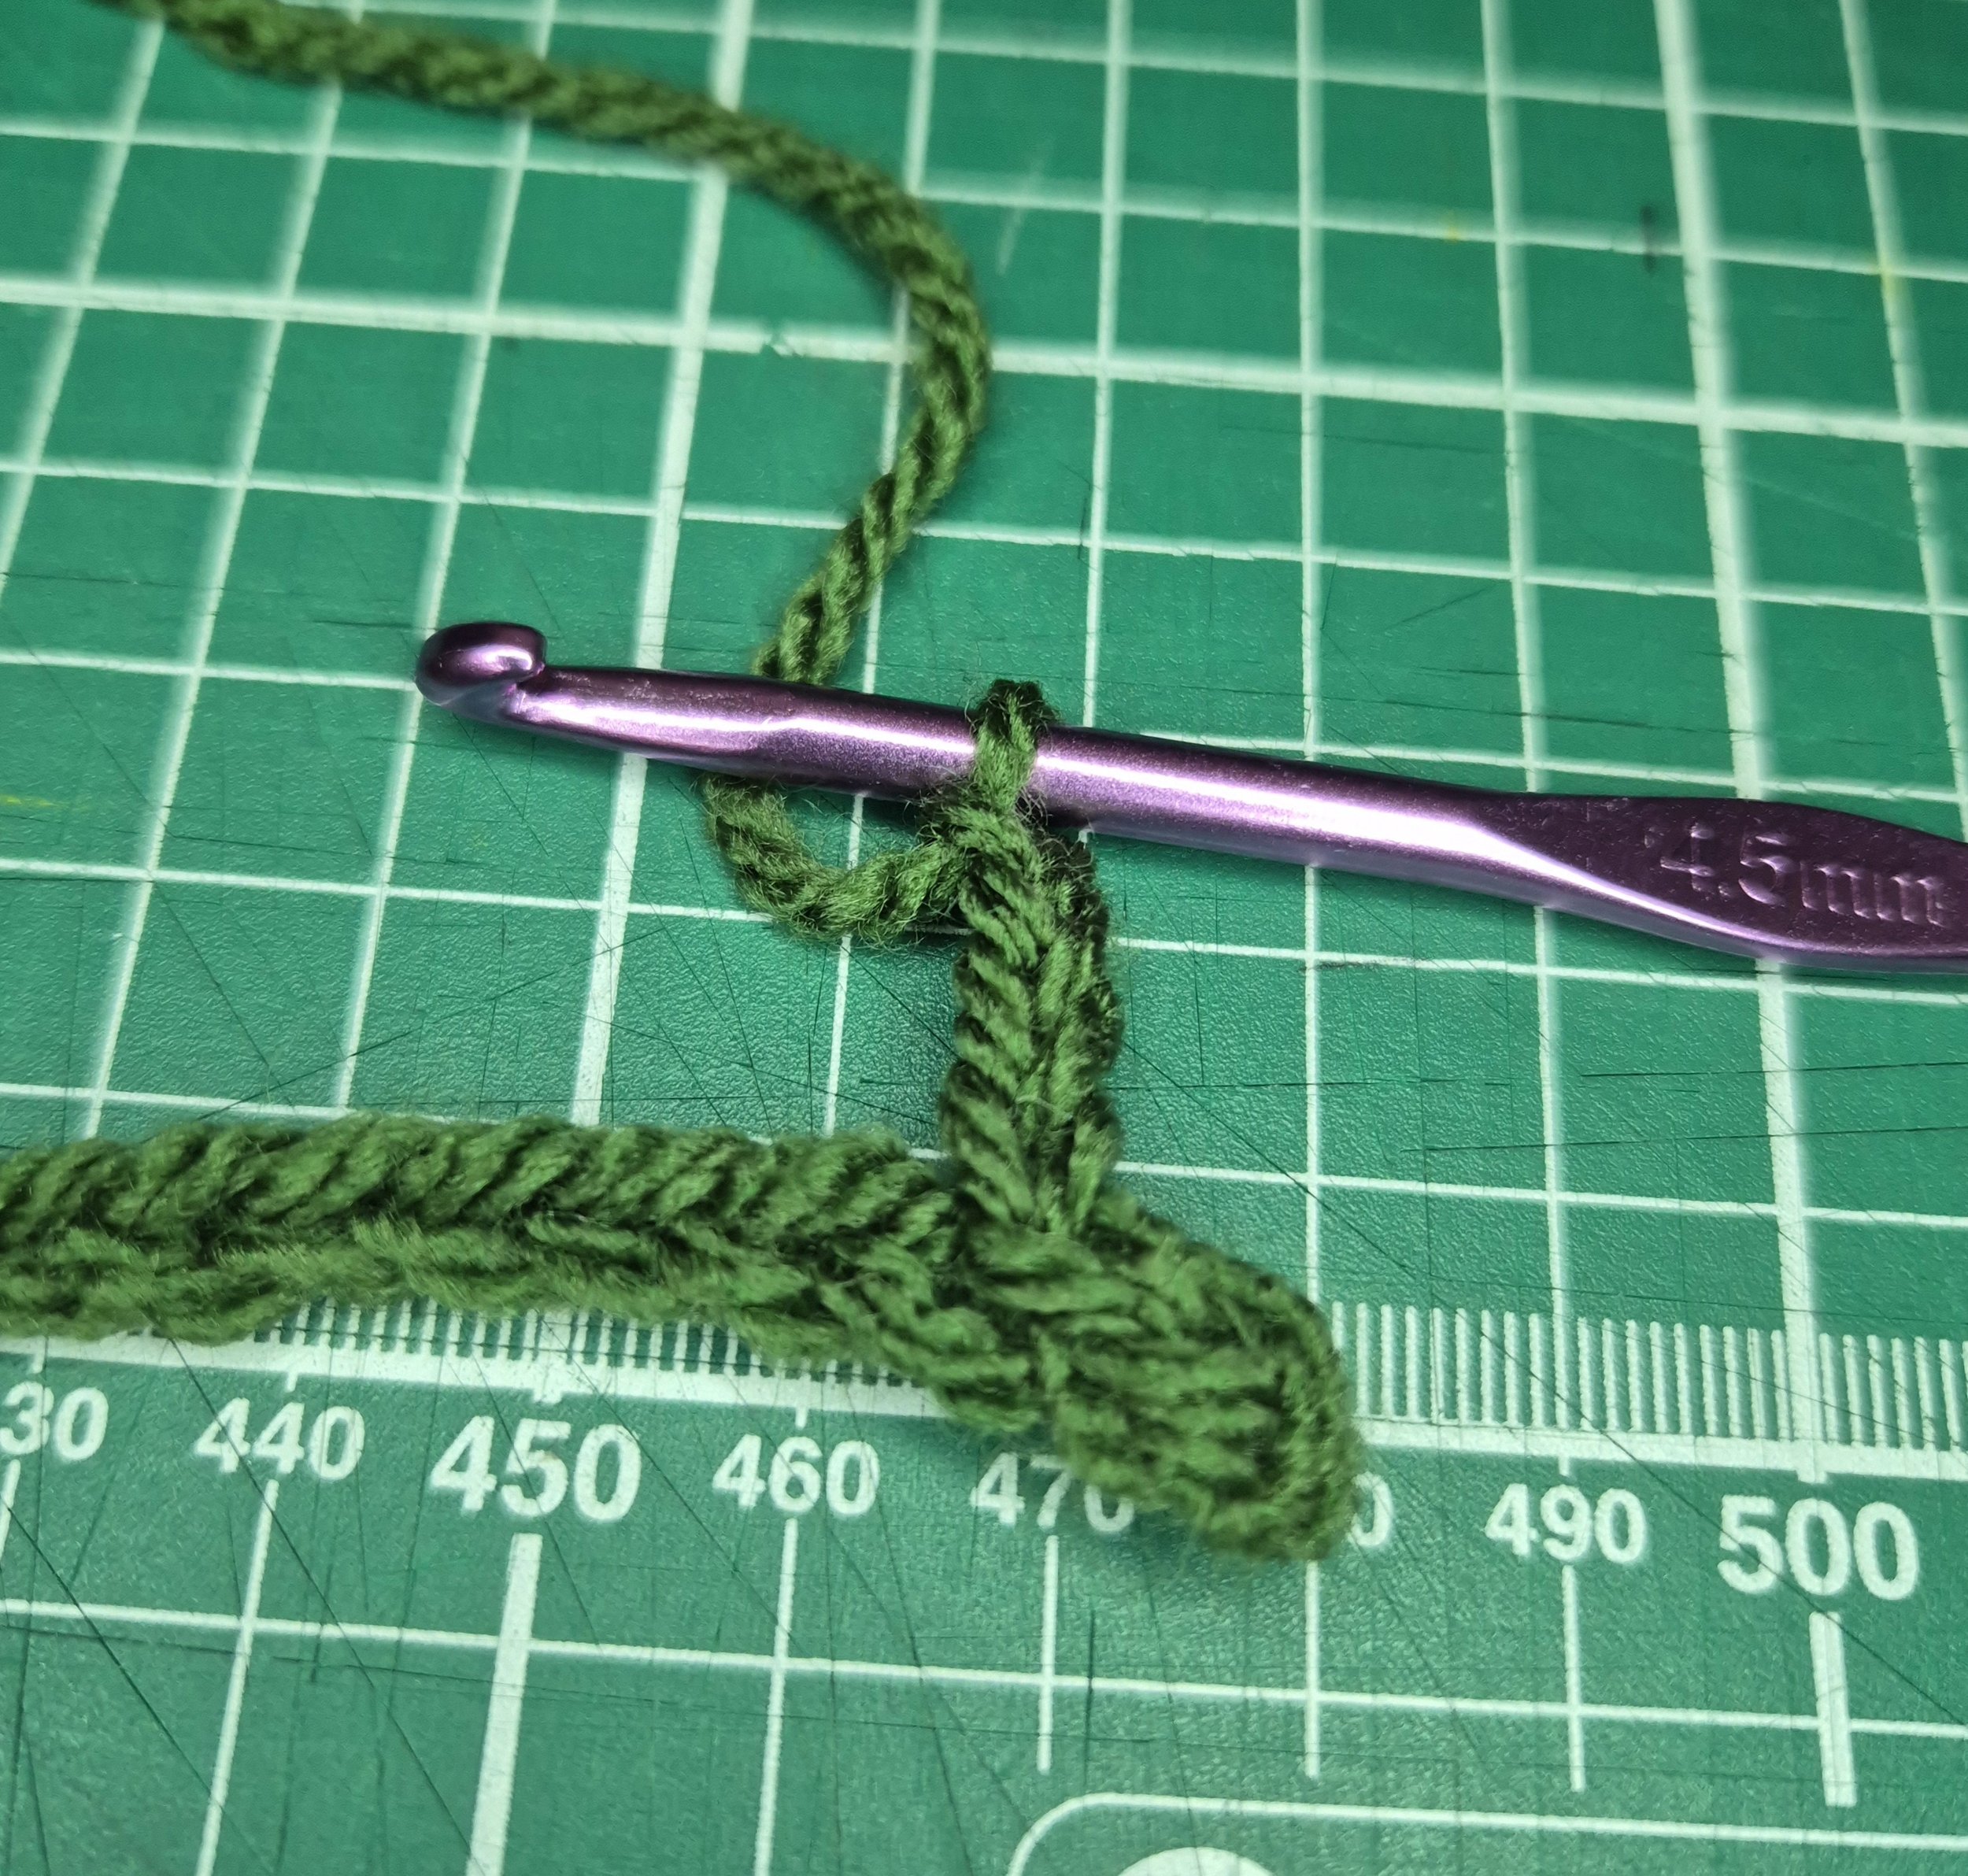
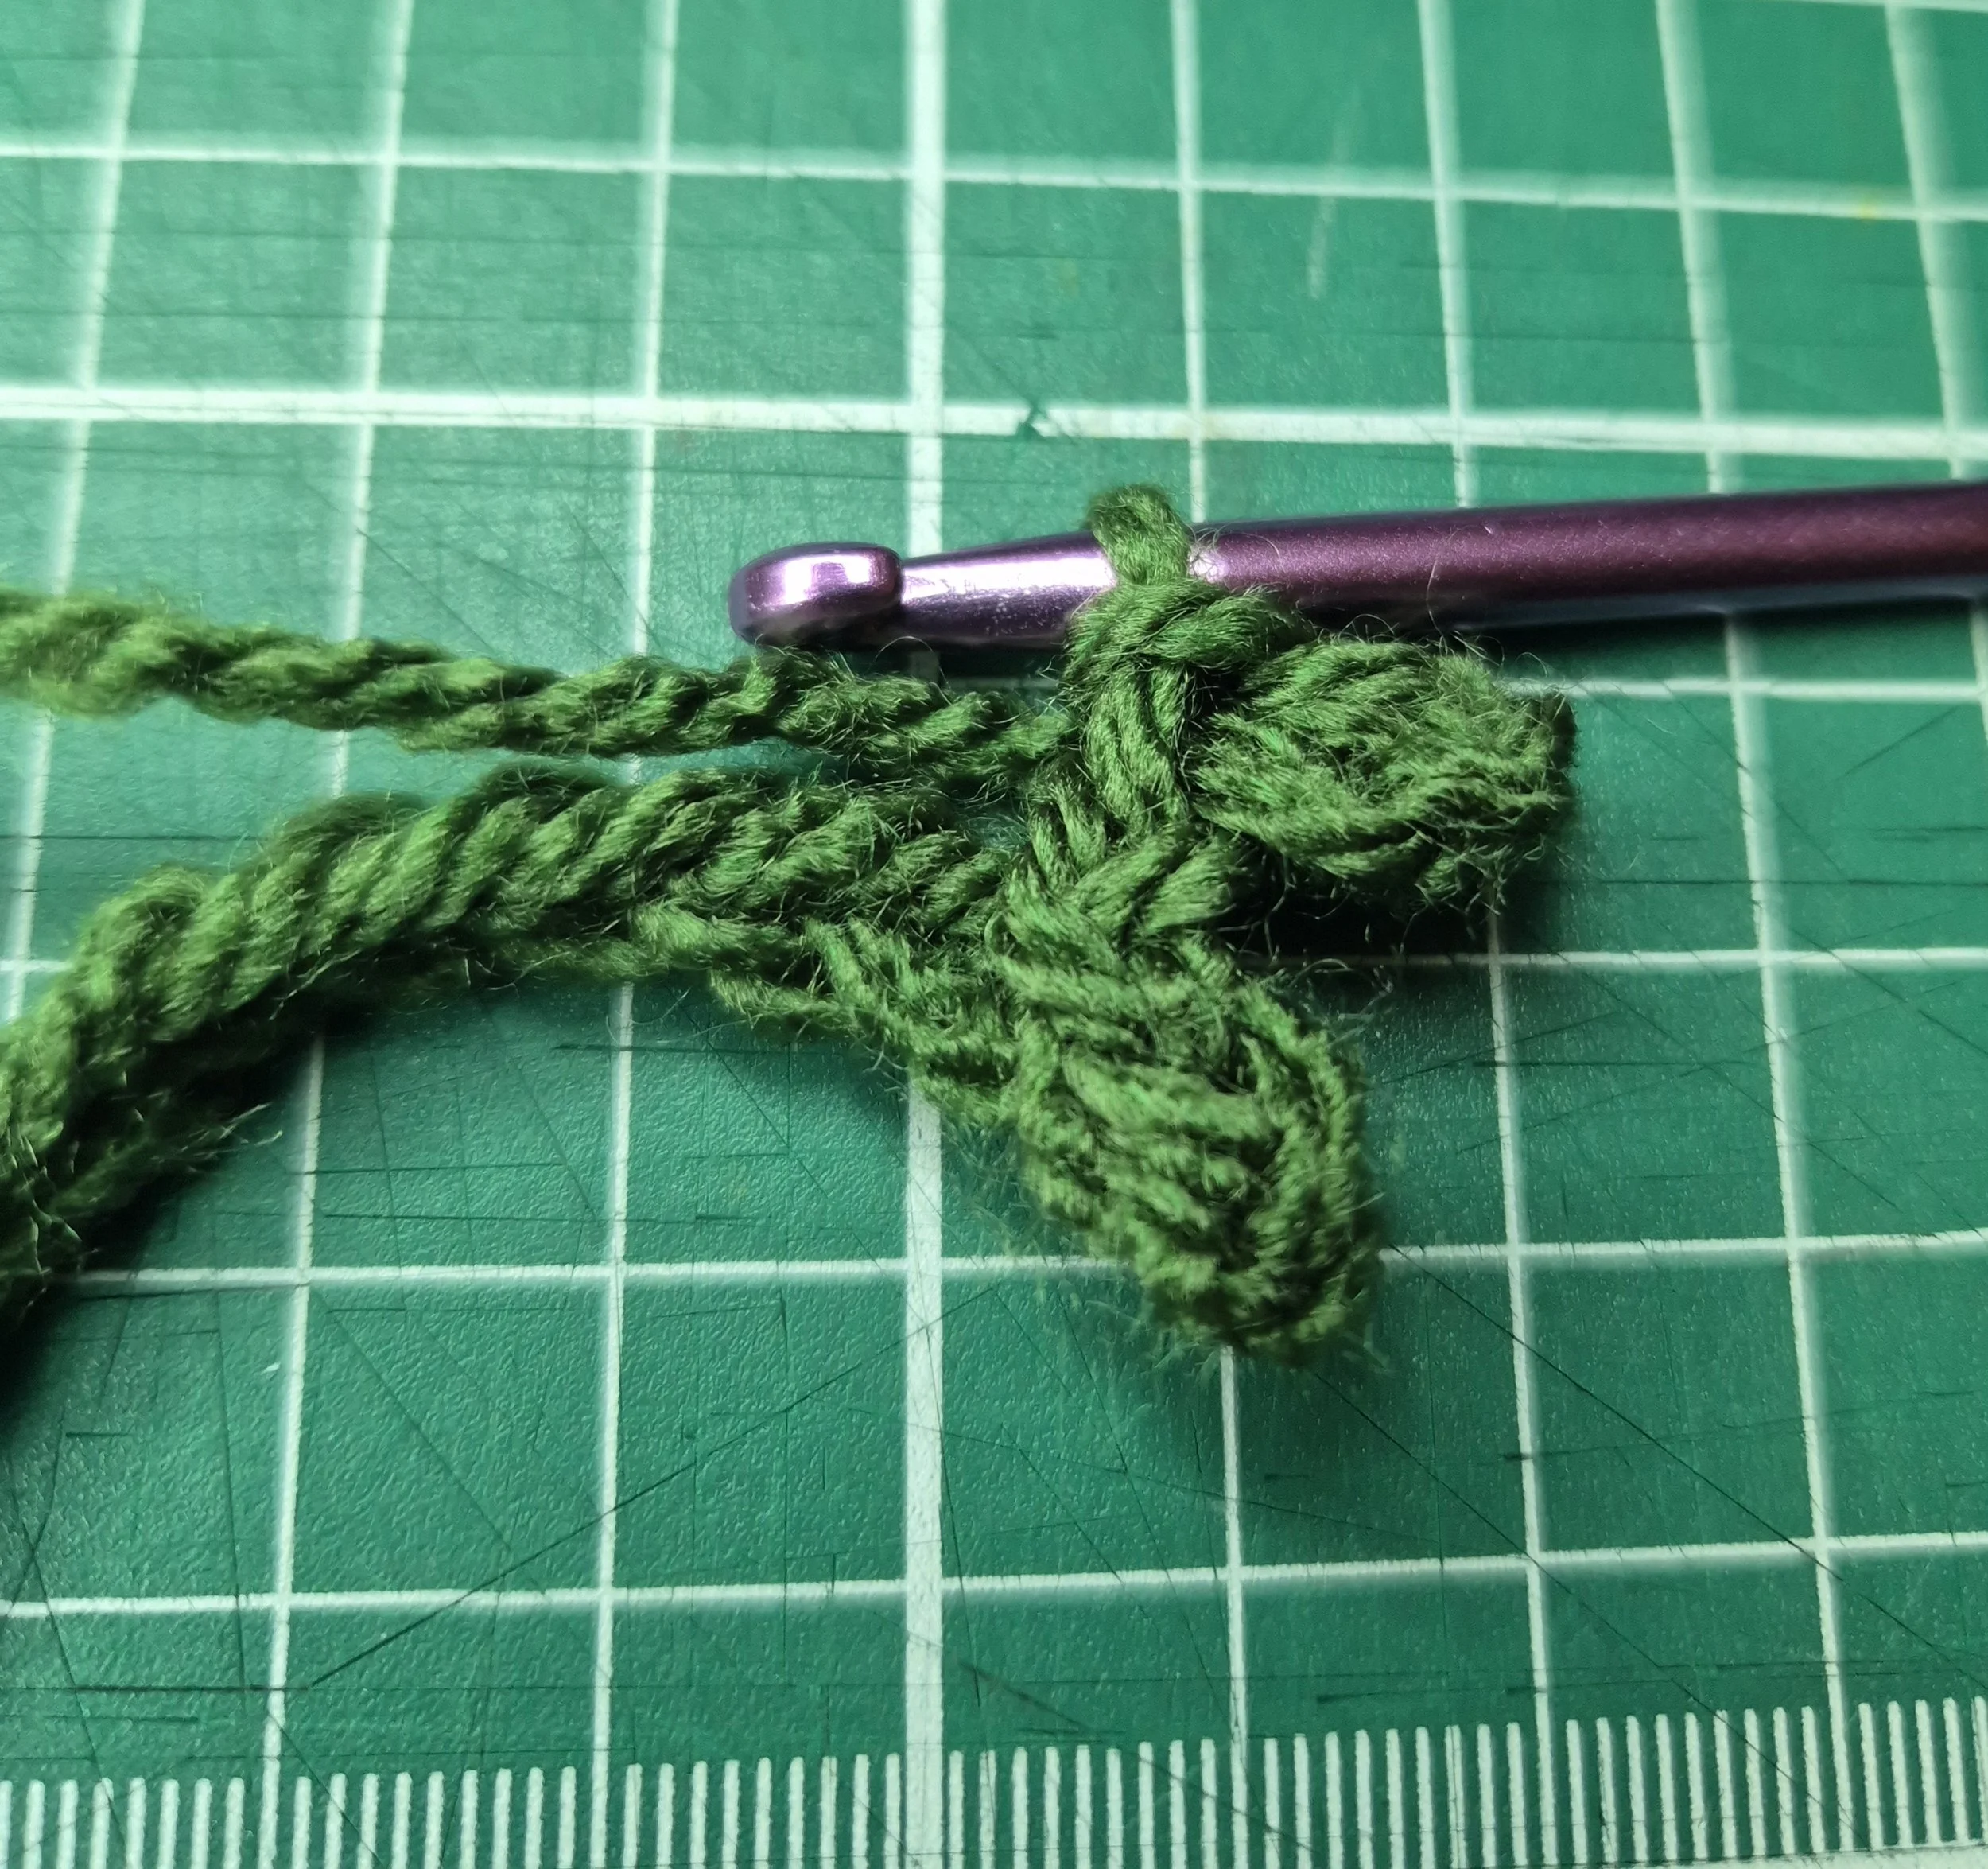
Step 7:
Slip stitch in the next few chain stitches
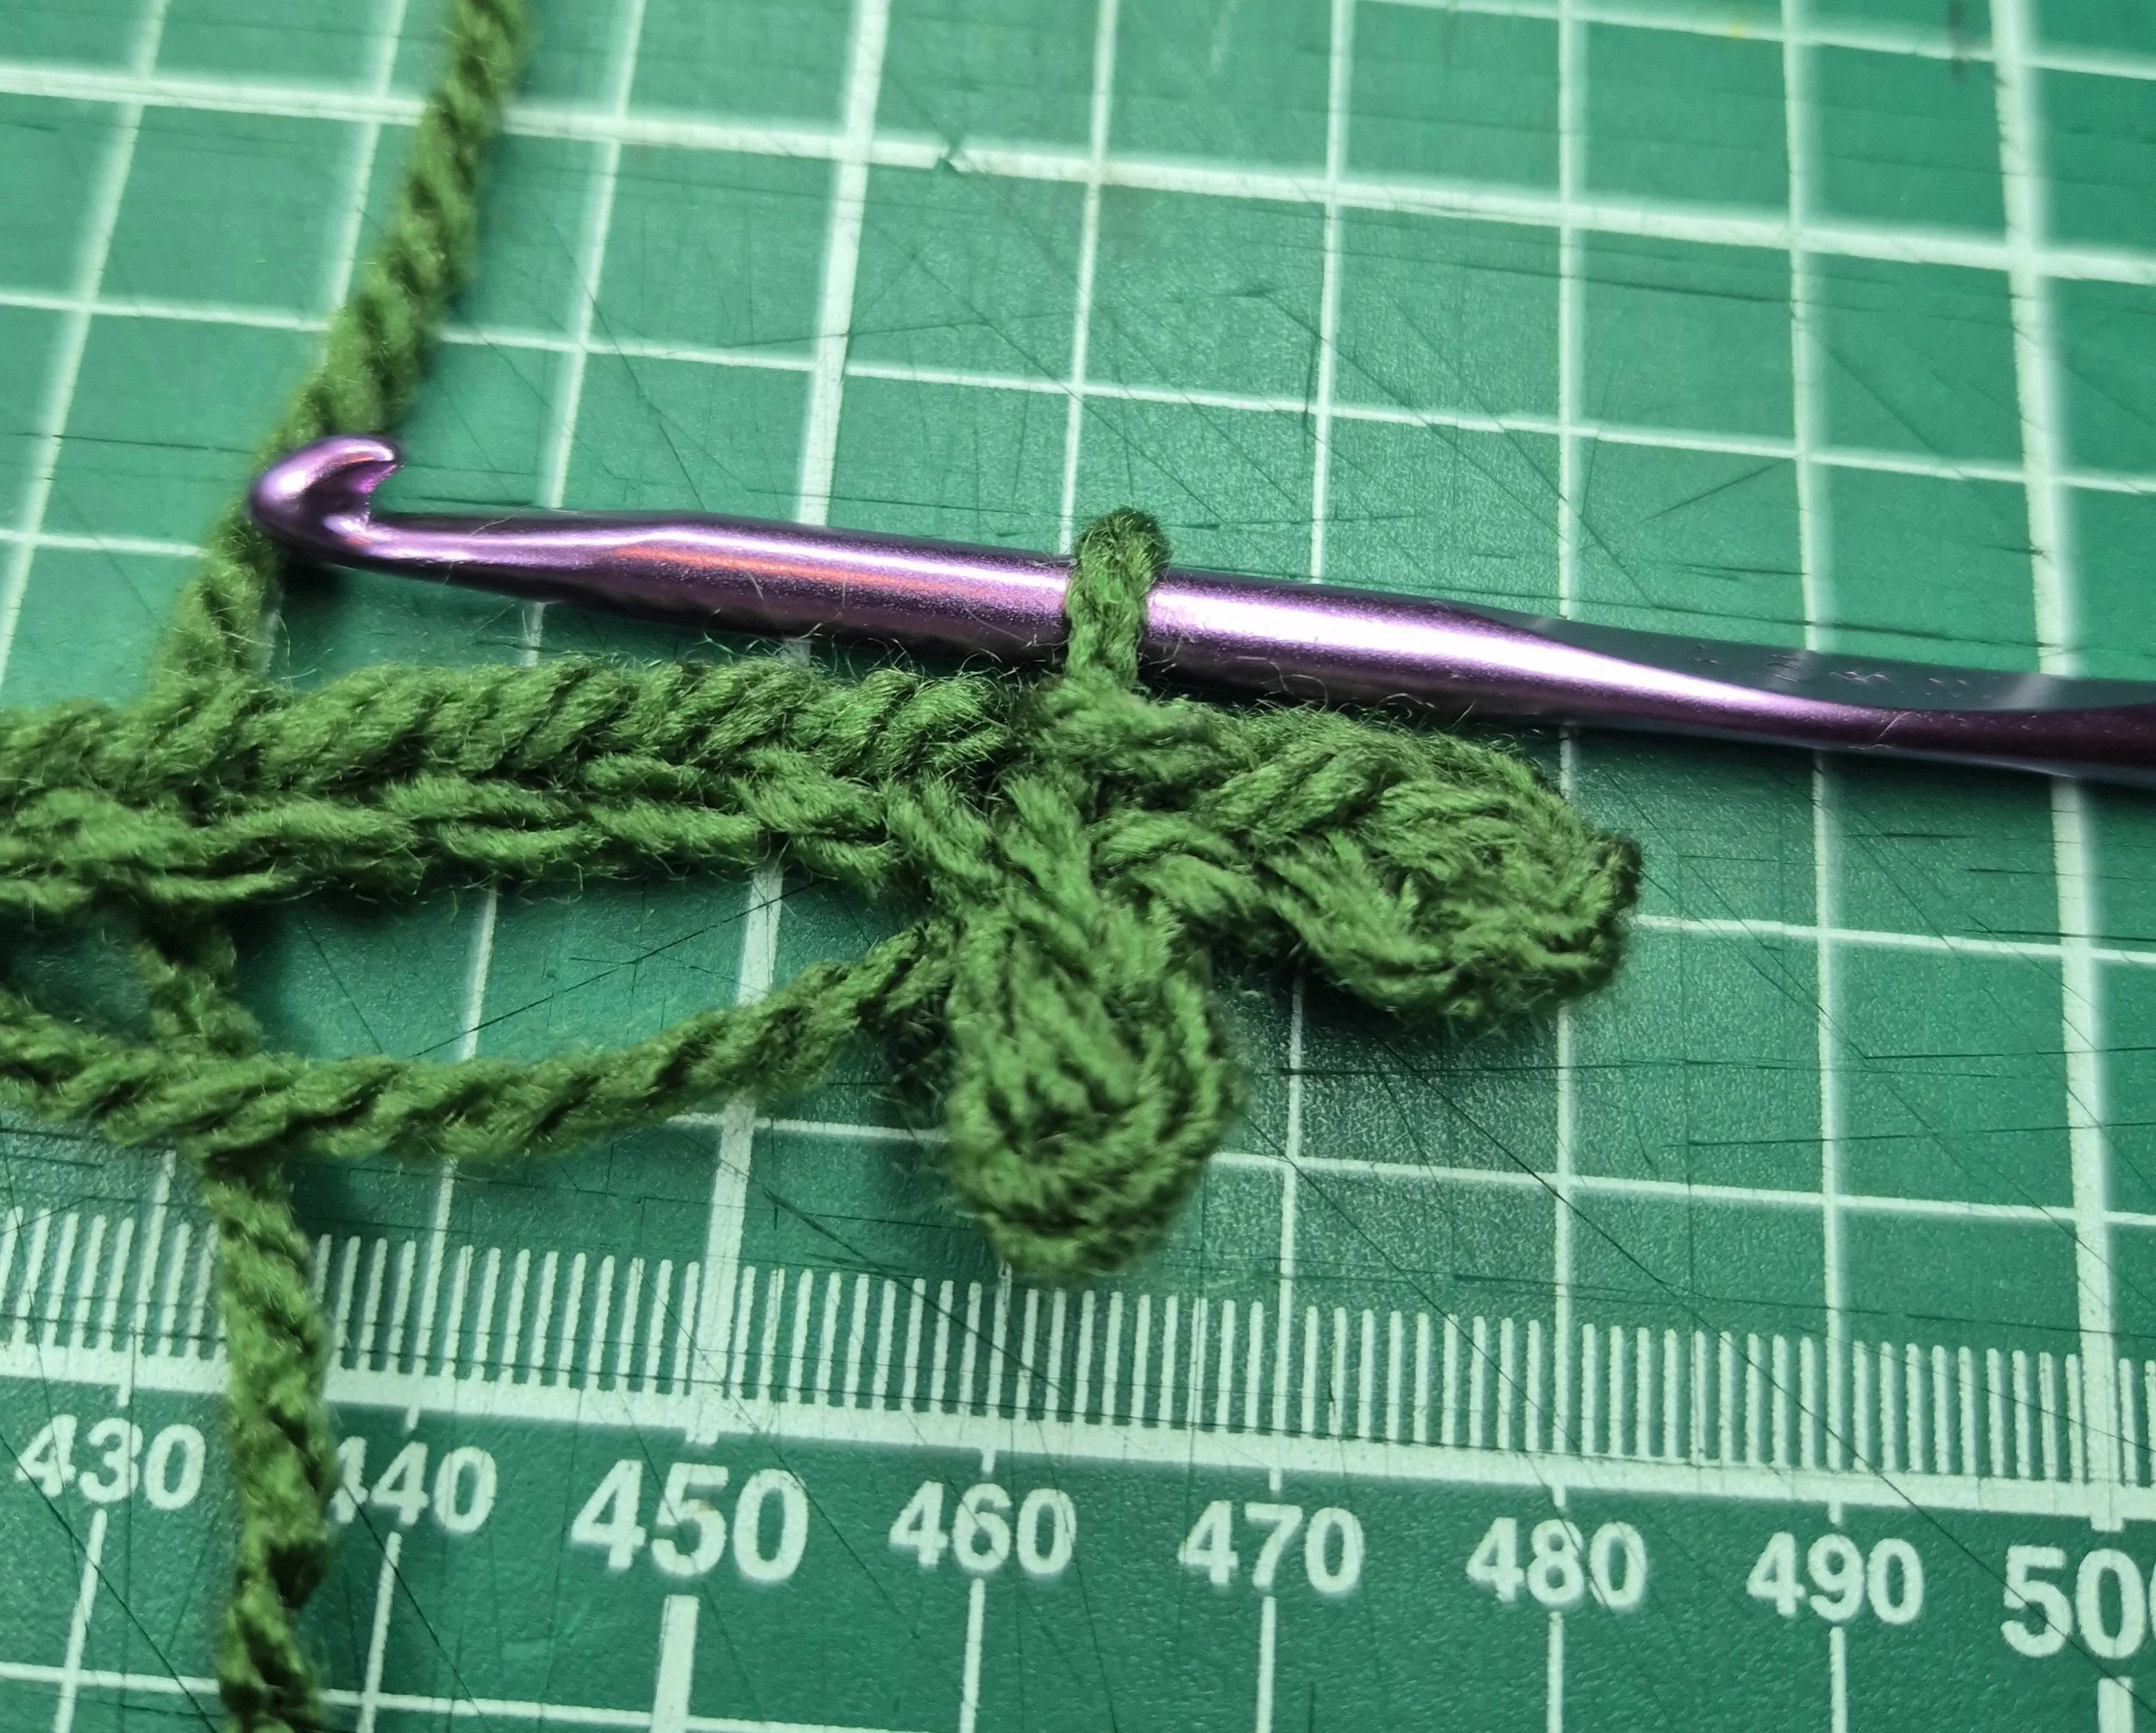
Repeat Step 3-7:
This takes you back to Step 3 where you will chain 4, repeat step 3 to 7 all along the foundation row
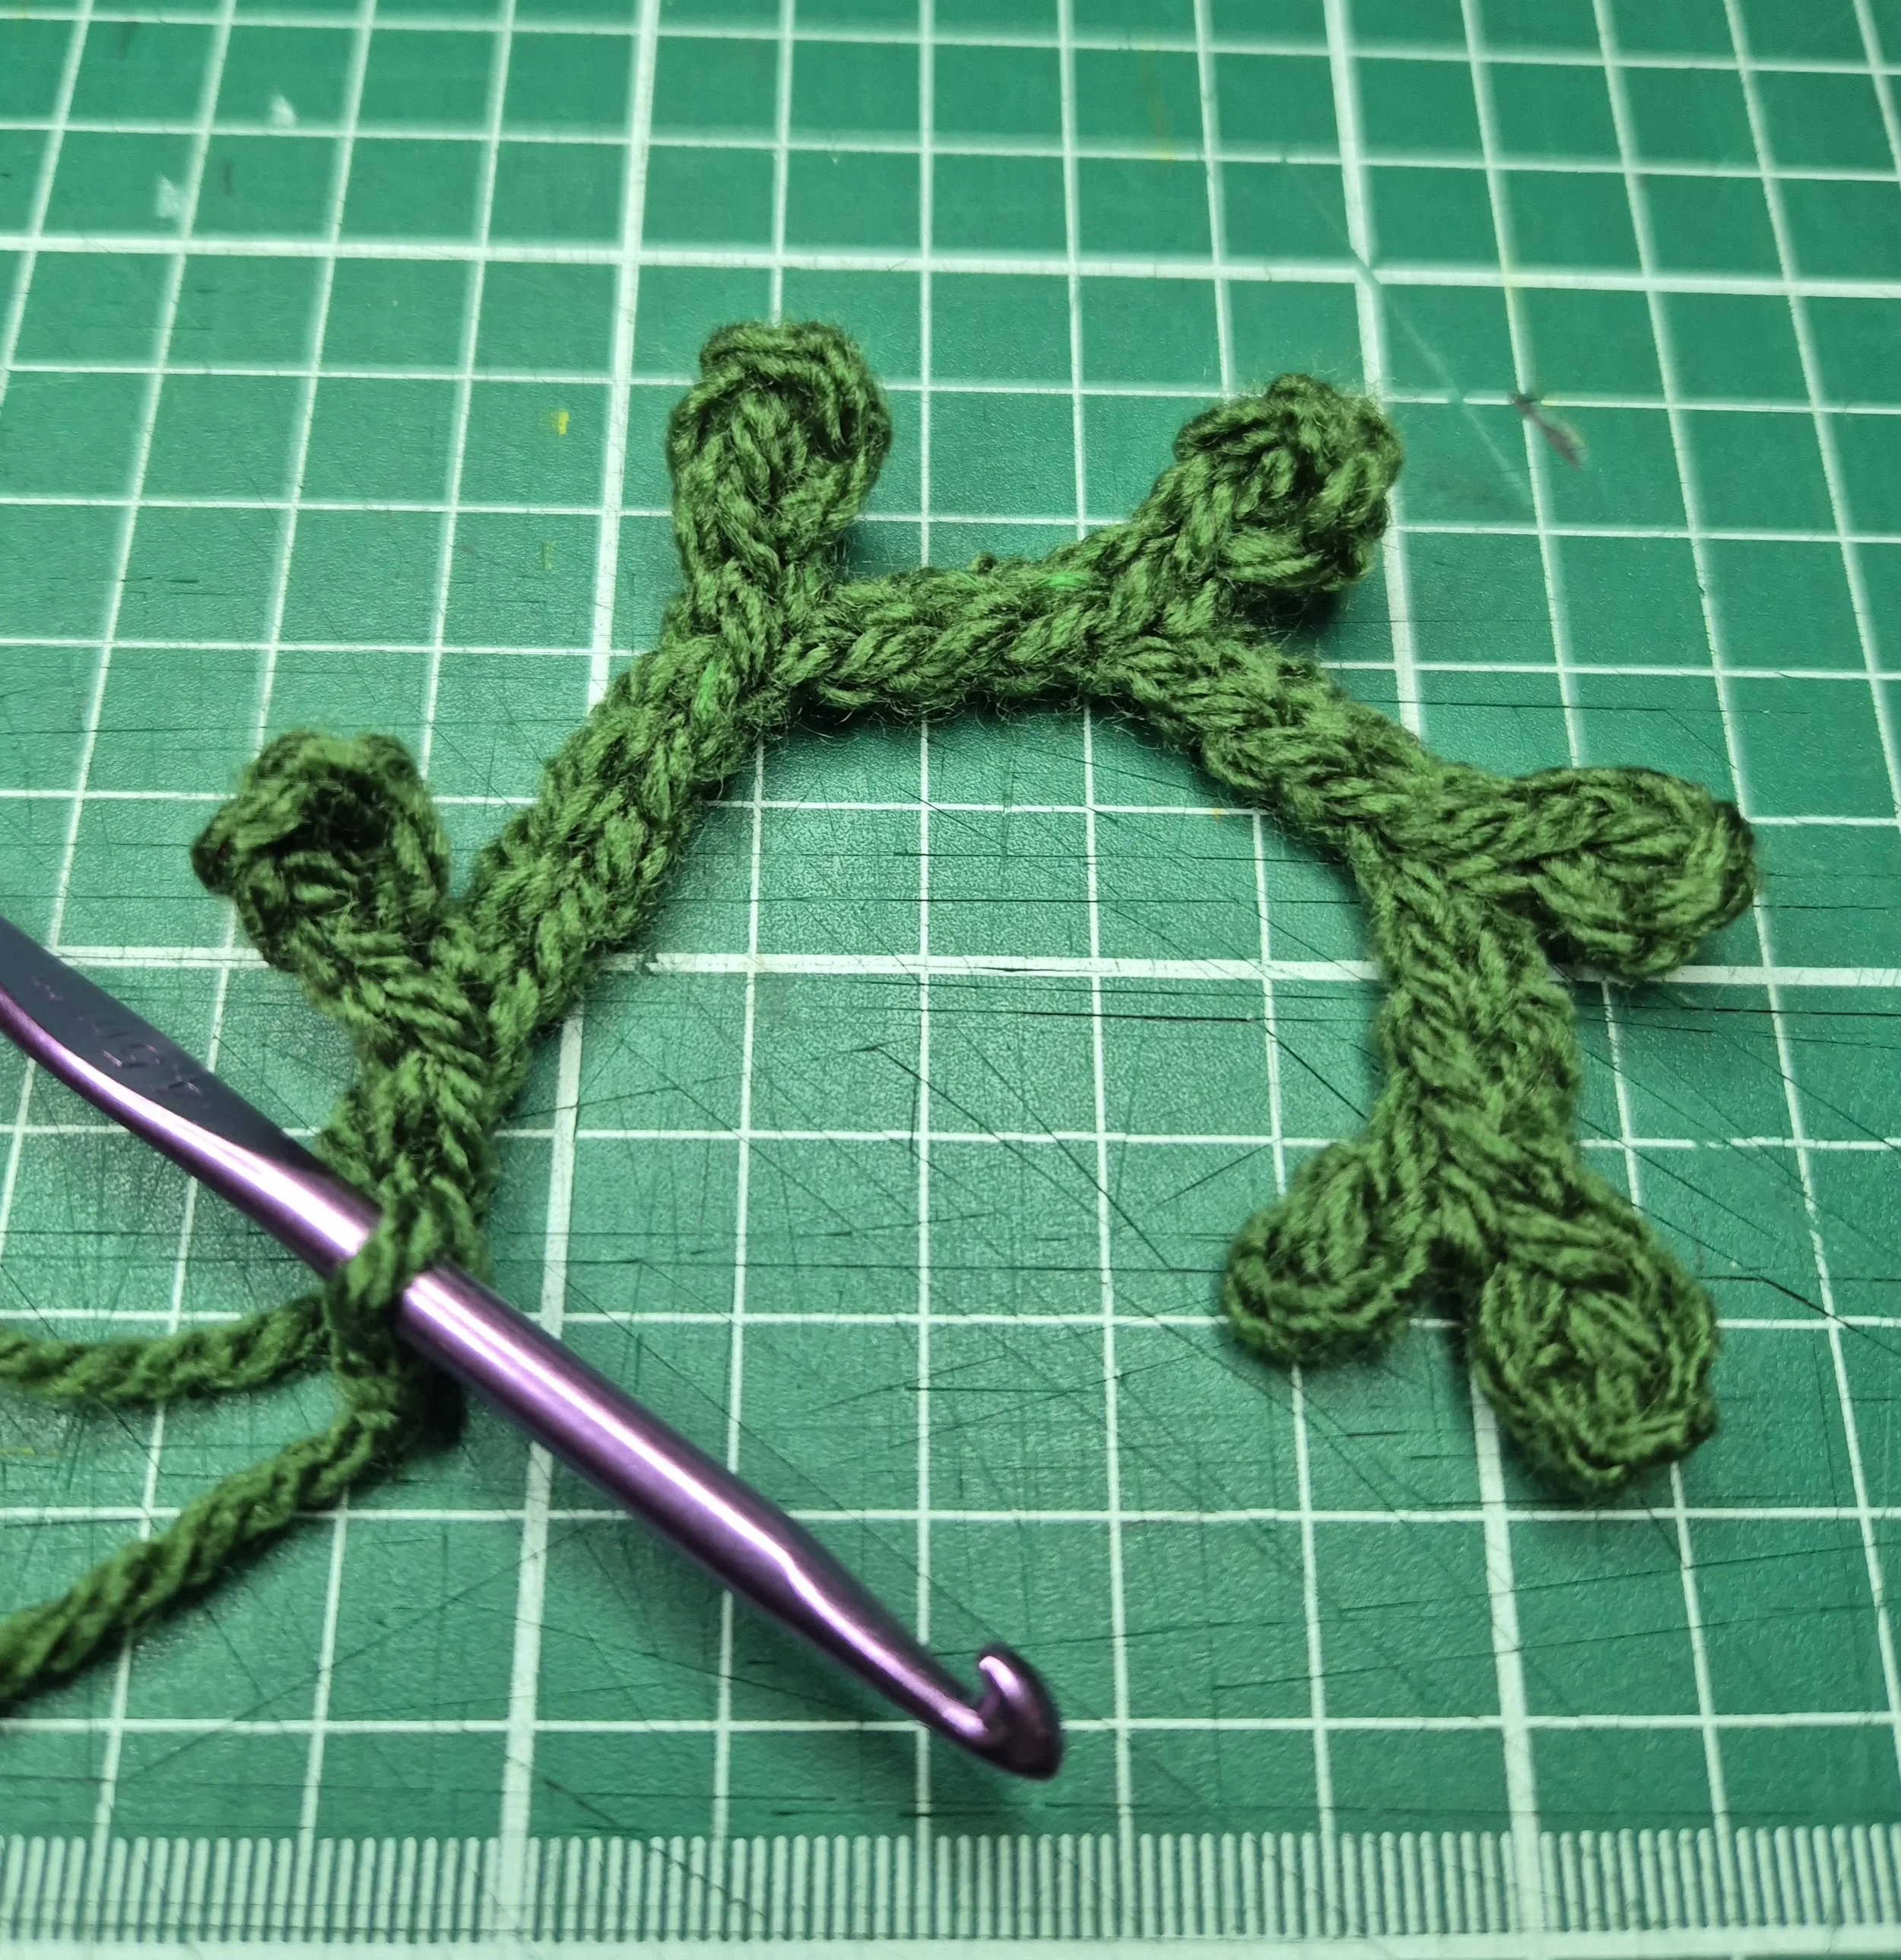
Now it’s looking like leaves!
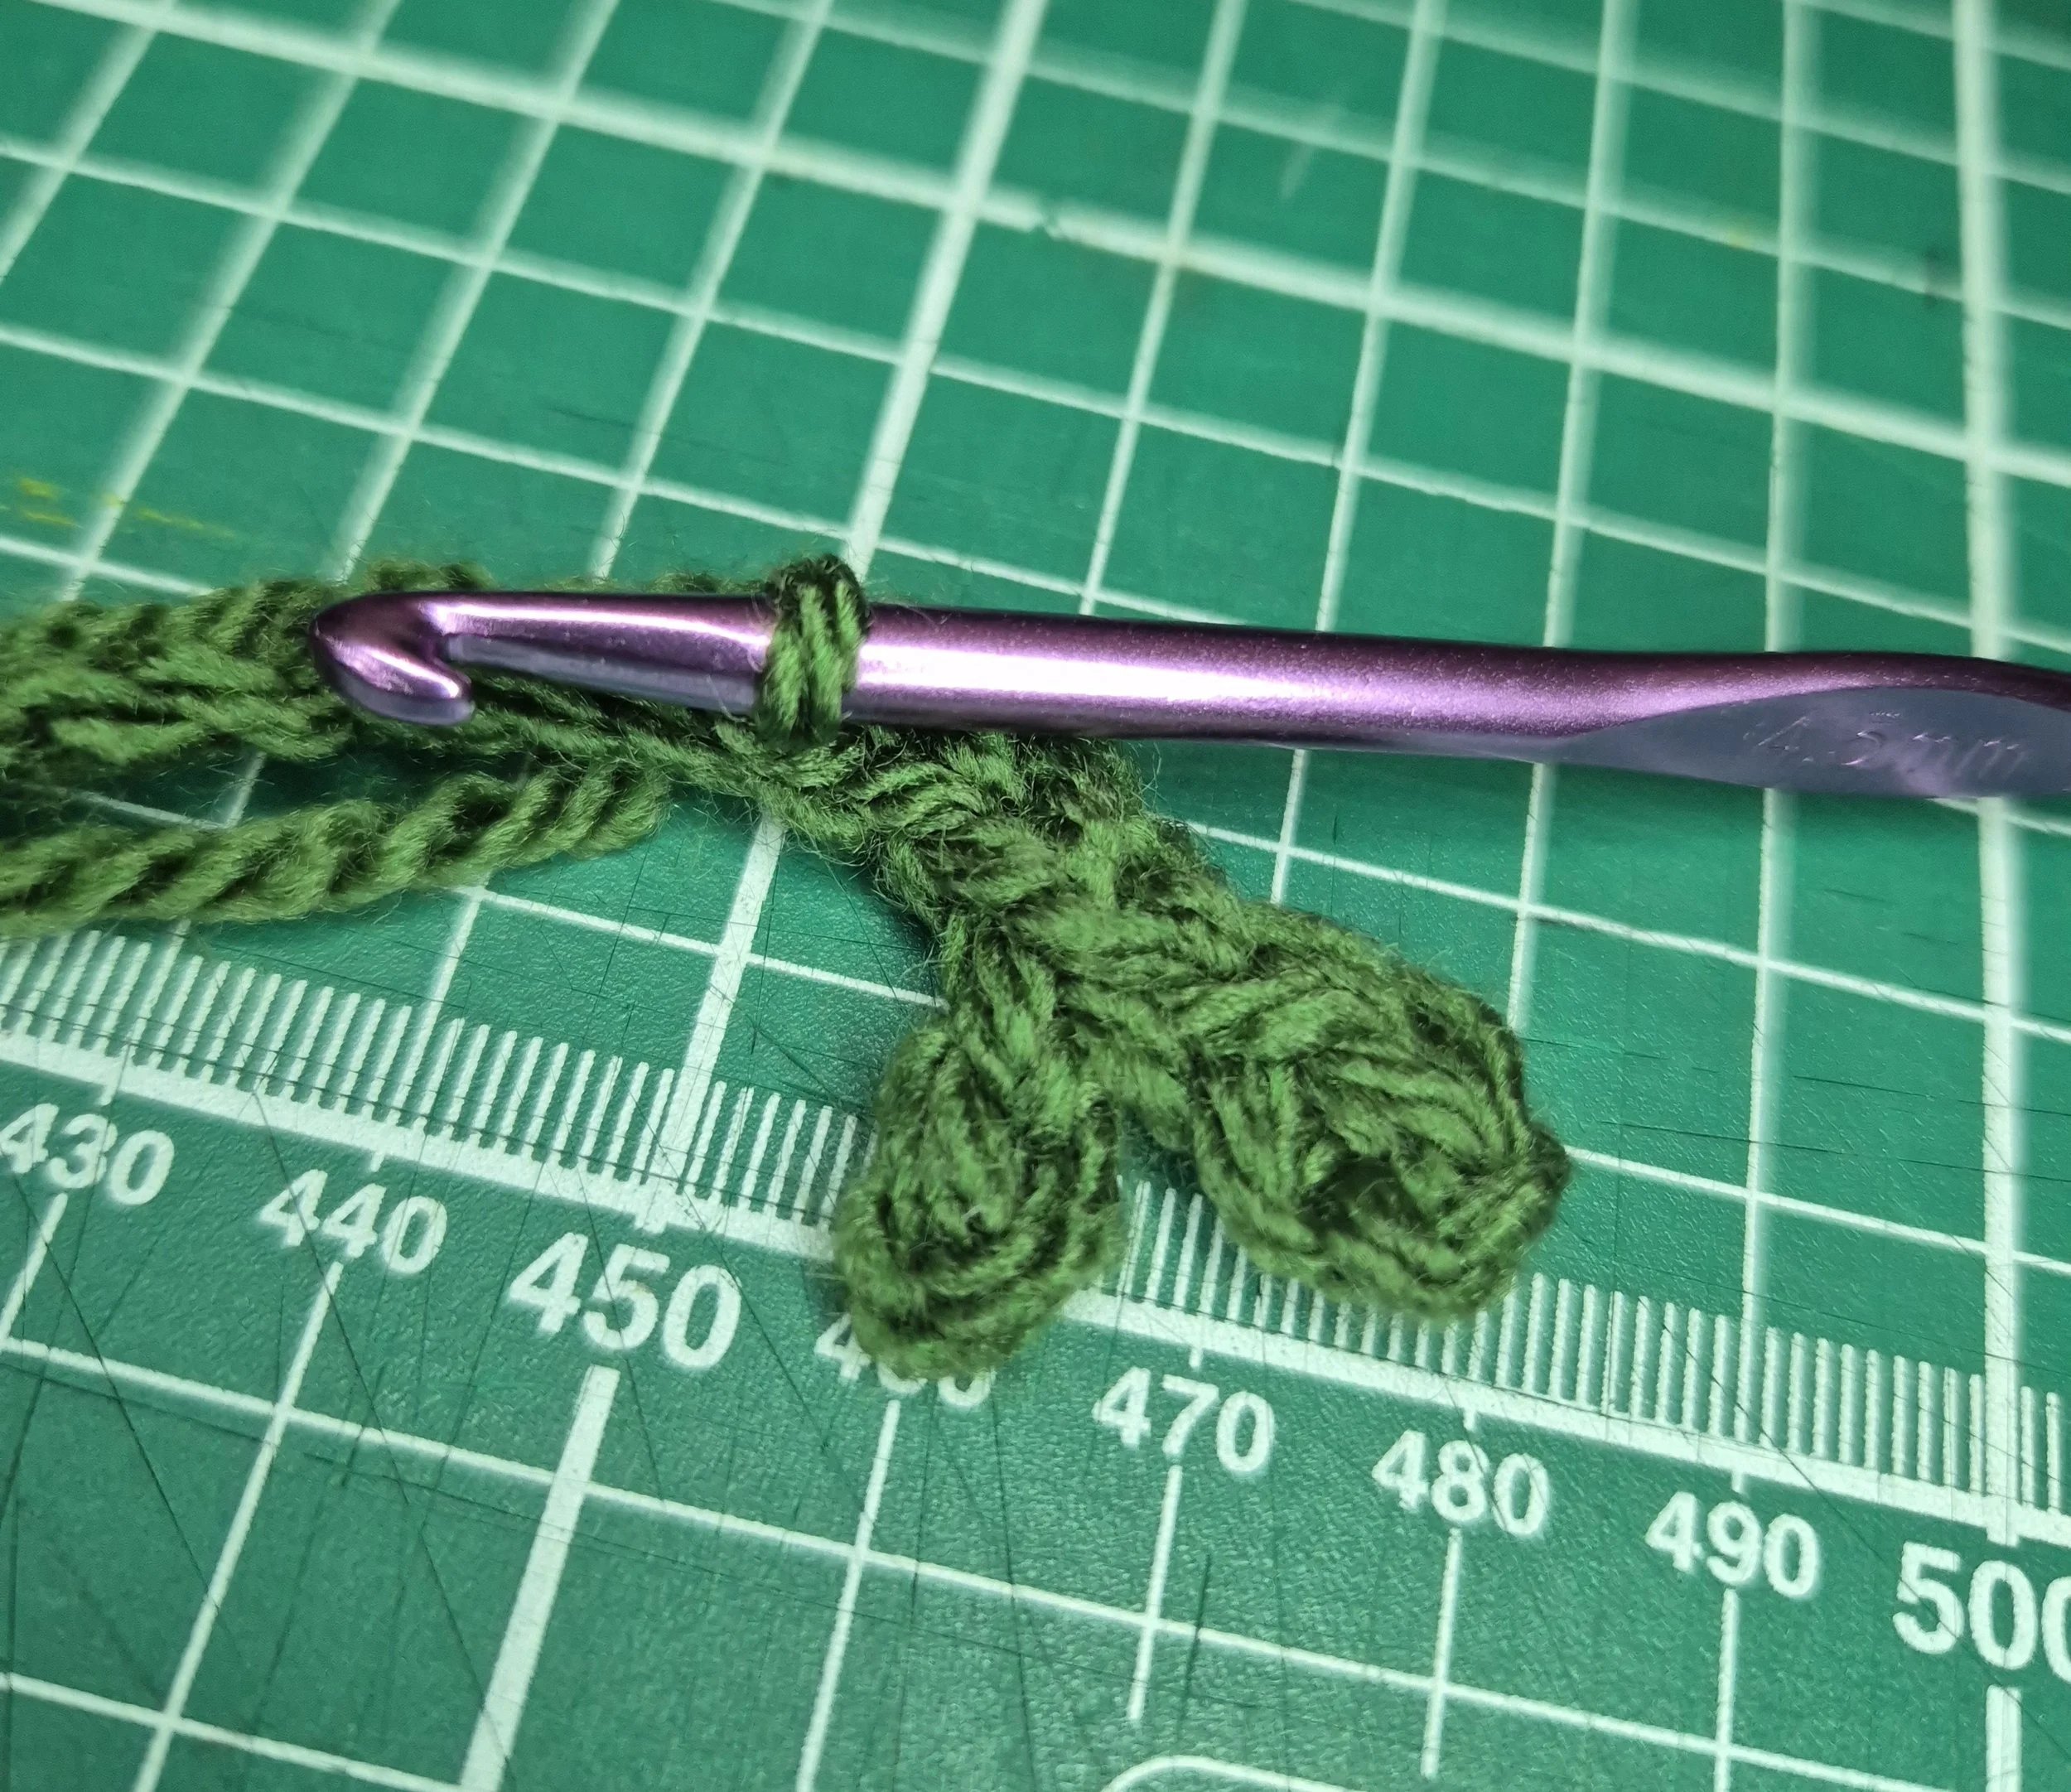
You can choose to either stop here or continue the same process on the other side of the foundation row
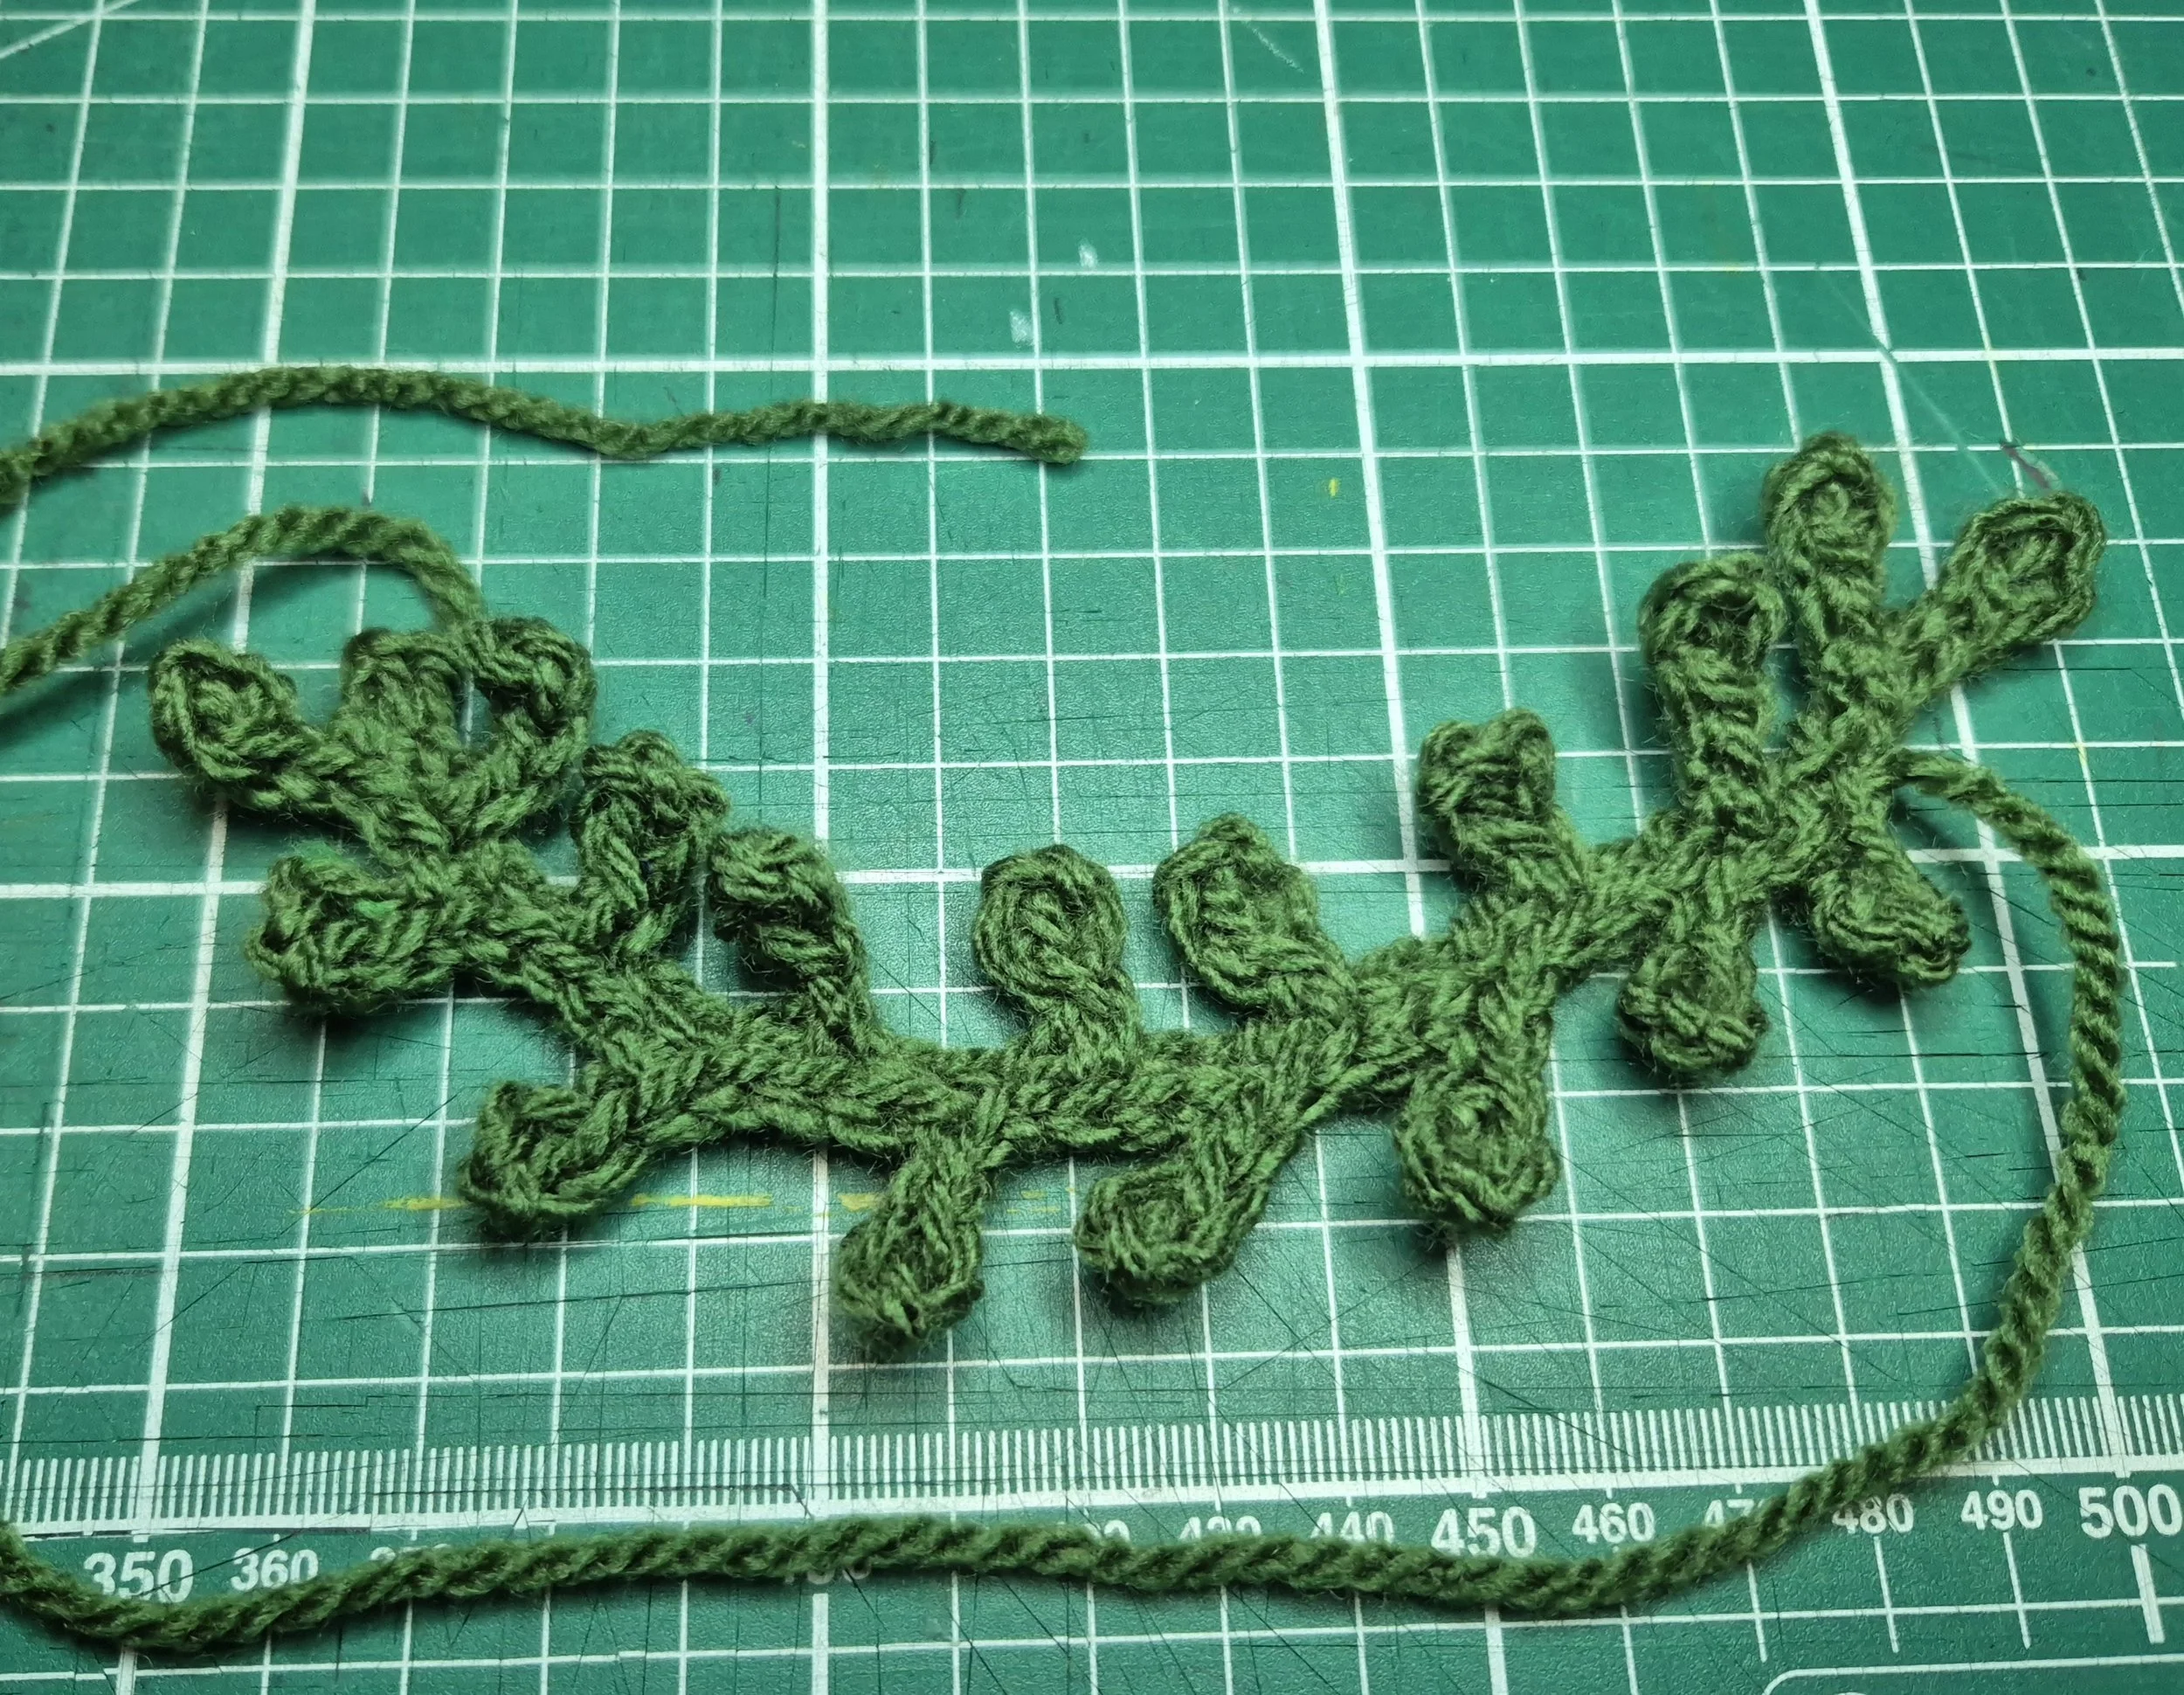
This is how it looks when you complete the other side!
This pattern is great to use as you can change it up to create slightly different shapes and sizes by adding more chains to make longer leaves, or bigger/smaller gaps between the leaves to make the gaps between the leaves different.
I’ve made many of these in different shades of green and yellow and altered the pattern to add variation when these get attached to the tapestry.
I’m not showing the full tapestry until the unveiling now as a lot of progress is being made and it’s coming together really well, and I don’t want to spoil it!
The unveiling event will be held on Friday the 16th January in Sheffield Train Station if you want to come and see it in person, in one of the blog posts coming up I’ll give more information about this!
Thank you fort reading along!
Merry Christmas to those of you who celebrate! I’ll still be scheduling a post next Friday despite the festive season so I’ll see you then
-Jodie